
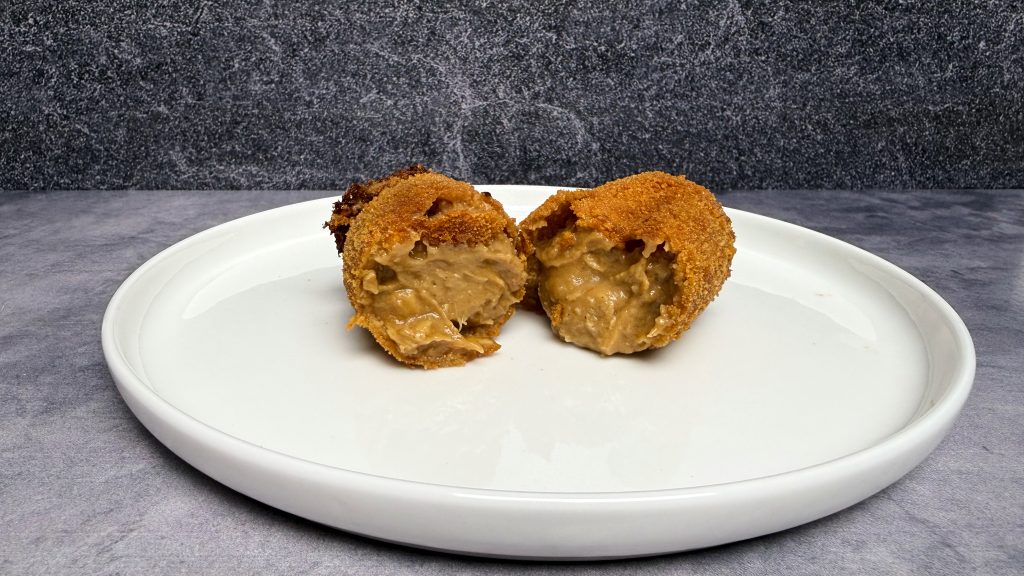
When I was a kid standing at the counter of a snackbar, I almost never ordered a plain kroket. It was a frikandel speciaal. That has not changed much. A frikandel speciaal is still the first thing I want when I land in the Netherlands, usually within the first day or two, and it is the reason I spent so long working out how to make one here. But if for whatever reason the frikandel wasn’t happening, I’d go for a satékroket.
I like kroketten now. I make them, there’s a recipe for them on this site, and they’re good. They’re still not the first thing I reach for. A satékroket is different. Same shape, same crust, same scalding hot interior, but the filling is chicken in peanut sauce instead of beef in gravy, and as a kid that was the one that got my attention.
You cannot buy one in the United States. A few Dutch import shops carry frozen beef kroketten, but a satékroket is a much harder find and shipping anything frozen gets expensive fast. So it’s the same situation as the frikandel: if I want one, I make it.
Where a Dutch croquette came from
The kroket is French before it’s anything else. The first known recipe for a “croquet” is in Le cuisinier royal et bourgeois, published in 1705 by the cook of Louis XIV. It was about the size of an egg, breaded and deep fried in lard, but the filling was loose pieces of meat rather than the bound ragout we’d recognize now.
Dutch sources put the oldest Dutch kroket at 1830, from a recipe belonging to the cook of King Willem I. Some point instead at Maria Haezebroeck’s Moderne kookkunst of 1851. The two dates get used interchangeably and I haven’t found anything that settles which is right, so take both loosely.
What’s clearer is what the kroket was for. It was a butcher’s and a pastry baker’s product, not a snackbar one. Through the nineteenth century and into the twentieth it was the fancy course served between the soup and the main, plated on a white napkin with a sprig of curly parsley. It only became a snack after the Second World War, when the snackbar and the automatiek took off and freezing made mass production possible. The kroket stayed the best selling Dutch snack until somewhere around 1996, when the frikandel took the top spot off it.
How Indonesian food ended up inside it
Here’s where the satékroket actually comes from, and it isn’t that somebody clever thought to combine two things the Dutch like.
After Indonesian independence, Dutch and Indische Dutch families living there were repatriated. Around 200,000 of them arrived, along with roughly 100,000 demobilized conscripts coming home from military service. That’s 300,000 people showing up in a small country, a lot of them having grown up eating Indonesian food or having developed a serious taste for it while they were there. Chinese restaurants started putting Indonesian dishes on the menu to serve them: nasi goreng, bami, gado gado, saté, the rijsttafel.
The snackbars followed. Somebody worked out that leftover bami and nasi could be breaded and dropped in the fryer. It started as a ball rather than a disc, and the bamischijf came later, because a ball is hard to cook through to the middle. The Nationaal Snackhandboek names a cafetaria owner in Bakkum, Nic Steeman, a former KNIL soldier, as the pioneer, frying bami and nasi balls by 1965 and possibly earlier. There is an earlier trace still: the Indo-Dutch writer Tjalie Robinson mentions a bamibal in 1955.
The satékroket belongs to that whole wave. What I can’t tell you is when. Every Dutch source I’ve read lists it as one of the standard varieties and none of them says when it appeared or who made the first one. The bamischijf has a name and a year attached to it. The satékroket doesn’t, at least not anywhere I could find it.
Why this one is fussier than a beef kroket
I’ll be honest about this up front, because it matters more than usual. A satékroket is harder to make than a beef kroket, and the reason is the sauce.
Peanut sauce brings fat and sugar into a filling that a beef ragout doesn’t have. That makes it softer, and it makes it stickier when you handle it. A softer filling is a filling that finds a weak spot in the breading and pushes through it in the fryer. In early versions, I couldn’t get the filling to bread at all, and after many iterations, the quantities I use now seem to work reliably.
Three things in the method exist purely to deal with it. The filling gets a full night in the refrigerator instead of four hours. The gelatin load is heavier than the normal Kroket. And the kroketten get breaded first and then frozen solid before frying, which is the opposite order from what feels natural. Frozen, the crust sets in the hot oil before the filling behind it has had time to soften and go looking for a way out.
The bumbu, and why it isn’t from a jar
A lot of recipes for this stir peanut butter into a broth, or use a jar of satésaus. Both work. I’m building the filling on the same bumbu I use for kip saté met pindasaus instead, because if I’m going to spend two days on twelve kroketten I’d rather the sauce inside them tasted like the sauce I actually make.
Two changes from that recipe. The lemongrass and galangal get ground into the paste rather than dropped in whole, since there’s no long simmer here to pull the flavor out of them. And the gula jawa and tamarind stay out of the frying pan. Sugar scorches long before shallot and garlic have cooked out, and in Indonesian practice the asam usually goes in with the liquid anyway.
One thing yours won’t have
If you’ve eaten these in the Netherlands you might remember the crust being a different color from a beef kroket. That’s real, and it’s got nothing to do with the recipe. It’s a factory convention so that whoever’s working the fryer can tell varieties apart when there are four different things in the same basket. It’s the same reason a nasischijf is pale yellow and a bamischijf is brownish red. Ours is going to look like a plain kroket, and it’s going to taste like nothing of the sort.
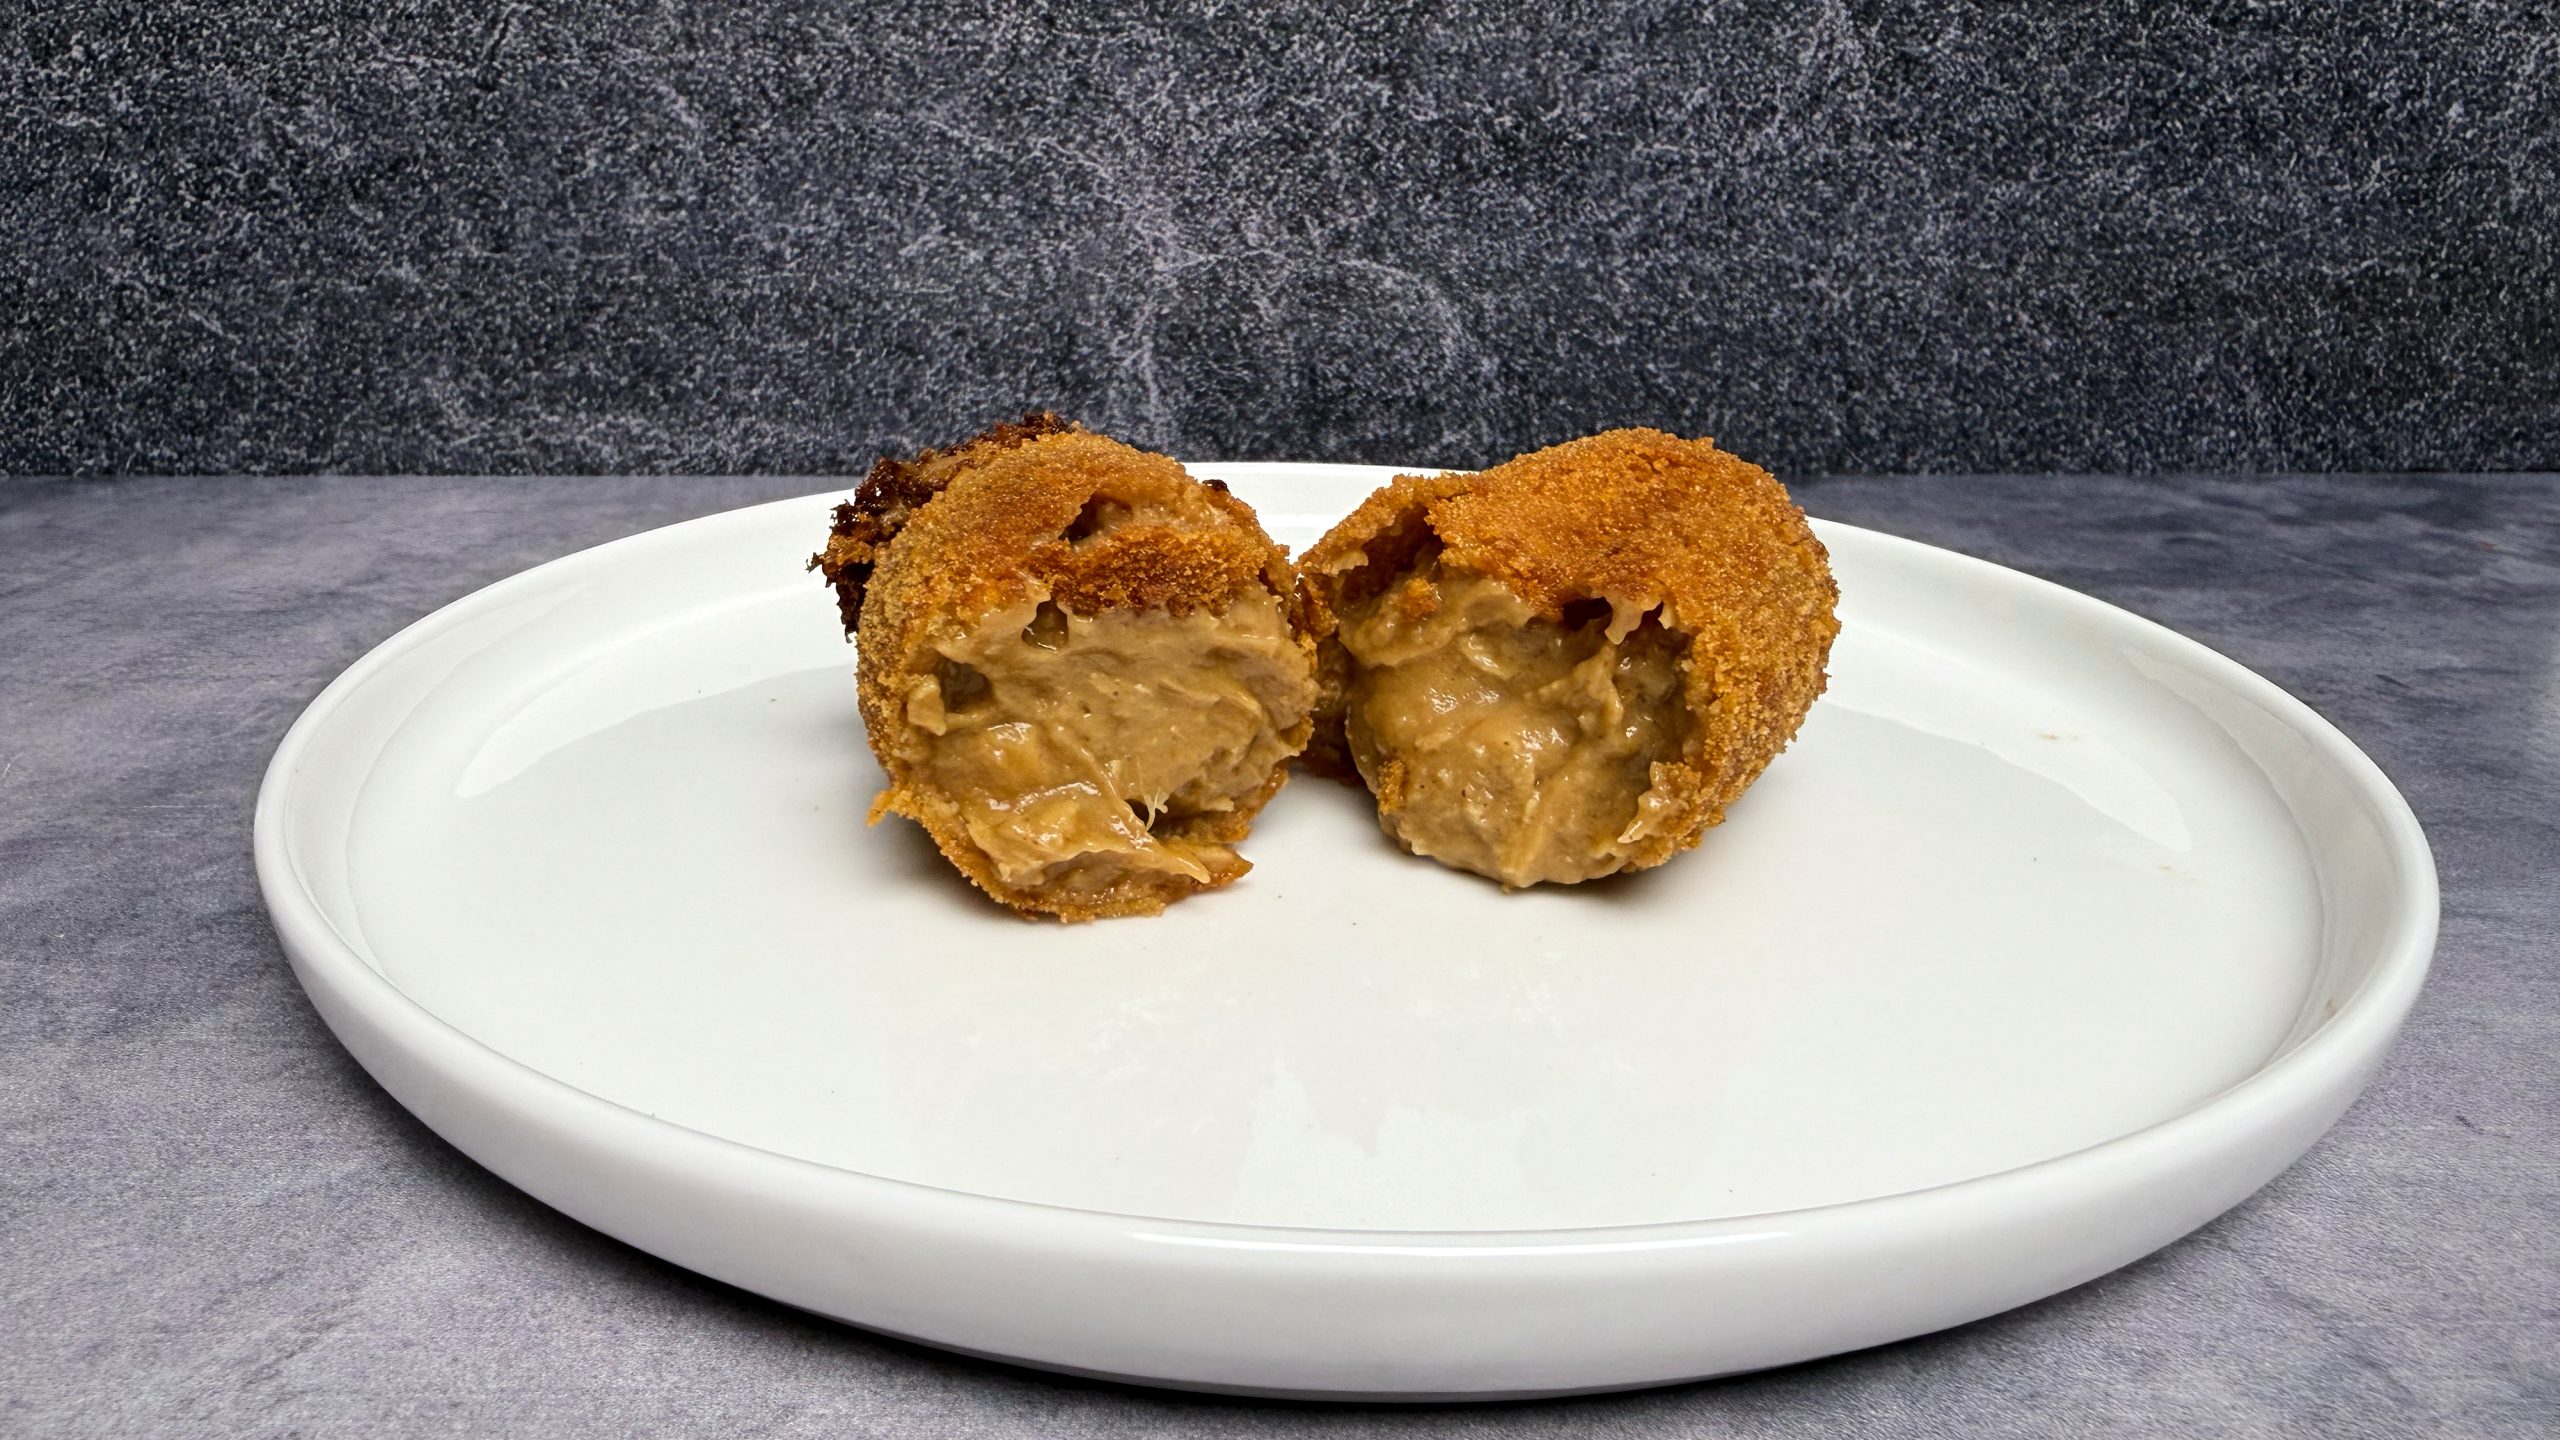
Satékroket: Dutch Croquette with Indonesian Peanut Sauce
Ingredients

Equipment
Before you Start
- This takes two days. The filling has to set overnight before you can shape it, and the shaped kroketten need another two to three hours in the freezer after breading. Neither one can be shortened. Start on a Friday and fry on a Saturday.
- This is harder than a beef kroket. The fat and sugar in the peanut sauce make the filling softer and stickier, and a soft filling is a filling that bursts in the oil. Rolling the logs takes more patience than you expect. Most of the steps here exist to prevent a burst, so follow the chilling and freezing times even if it looks firm enough.
- The bumbu is ground by hand in a molcajete or a mortar. A blender or a food processor will chop lemongrass but never break it down, and this recipe has no long simmer to soften what the grinding missed. Allow ten minutes for it.
- Use plain fine dry breadcrumbs. Not panko, which gives a coarser crust than a Dutch kroket should have, and nothing seasoned. Buy more than you think you need, because once egg gets into a dish of crumbs that batch is finished.
- The one moment you cannot recover from is the seasoning. Once the filling goes into the refrigerator it is set. Taste it while it is still warm and loose.
- Gula jawa, tamarind paste, fresh galangal and lemongrass are the ingredients you may have to go looking for.
Method
- Put the water and the bouillon cube in a saucepan and add the chicken breast, fully submerged. Start it from room temperature water rather than dropping the chicken into boiling liquid.
- Bring it to a rolling boil, drop the heat to a slow simmer and cook for 10 minutes. Turn the heat off, cover the pan, and let it sit for another 10 minutes. Check that it reads 74°C (165°F) at the thickest point.
- Keep the poaching liquid. That is your broth for the roux, and it carries the chicken flavor that a bouillon cube on its own will not give you.
- Chop the chicken into rough quarter-inch dice. Do not shred it. Breast tears into stringy fibers when you shred it, and those fibers give you nothing to bite into. Dice holds its moisture and you can see it in the cross section when you break a kroket open.
- Slice the tender core of the lemongrass as thin as you can, across the grain, and slice the galangal thin as well. This is most of the work and it is worth taking your time over. Whole chunks skate around a wide stone instead of breaking down.
- Grind the lemongrass and galangal together first, until there are no recognizable pieces left. These are the two fibrous things in the paste, so getting the hard work done in one pass gives you a broken-down base to add everything else to. The rough stone tears the fibers rather than just crushing them, which is what they need. A blender or a food processor will chop lemongrass and never break it down, and undermilled lemongrass leaves splinters in the filling. If you are using frozen galangal, let it thaw first. Frozen is good for grating and bad for grinding, because it skids instead of yielding.
- Work in the garlic, then the shallots, then the ground coriander. Softest and wettest last, so the liquid the shallots give up loosens the paste rather than getting in the way early on. Grind until it comes together as one paste, and push it through a sieve if it still feels fibrous.
- Heat the neutral oil in a wide pan over medium heat and fry the paste for 6 to 8 minutes, until the raw smell of shallot and garlic is gone and the paste has darkened. Do not rush this. Underfried bumbu tastes sharp and green, and there is no long simmer later on to fix it.
- Nothing sweet or sour goes in the pan at this stage. Gula jawa and tamarind would both scorch well before the shallot and garlic are cooked out. They go in later, off the heat.
- Add the butter to the same pan and let it melt into the fried paste. The butter goes in after the frying rather than before it because butter burns well below the temperature a bumbu needs. Fry in oil, finish in butter, and you get both.
- Whisk in the flour and cook the roux to blonde, a couple of minutes longer than you would for a beef kroket. Stop there. A darker roux tastes better and thickens worse, and this filling needs all the binding it can get.
- Strain the broth into a measuring cup so it goes in clear.
- Add the broth a little at a time, whisking as you go. It thickens fast. Let it come to a gentle boil and cook it through until it coats the back of a spoon.
- Take the pan off the heat and stir in the peanut butter, gula jawa, tamarind, ketjap manis and sambal oelek. The peanut butter goes in cold from the jar, which brings the temperature down on its own.
- Bloom the gelatin in the room temperature water for 10 minutes while the filling cools.
- Check the temperature of the filling before the gelatin goes anywhere near it. You want it between 60 and 70°C (140 and 160°F). Too hot and you cook the setting power out of the gelatin, which is the difference between a filling you can roll and one you cannot. Too cool, below about 50°C (120°F), and it will not dissolve properly and you get rubbery streaks. Stir it in until it has completely disappeared, and do not put the pan back on the heat afterward.
- Fold in the chopped chicken. Gelatin first, chicken second, because gelatin is much easier to disperse evenly without pieces of meat in the way.
- Taste it now, while it is still warm and loose. This is the only real chance you get. Watch for tamarind that has gone sharp, for the ketjap manis and gula jawa stacking up too sweet together, and for salt. Push the heat slightly past where you want it, because chilling mutes the sambal.
- Spread the filling into a shallow dish, press plastic wrap flat against the surface so no skin forms, and refrigerate overnight.
- Whisk the eggs and milk together in a shallow dish with a pinch of salt. Put the breadcrumbs in another dish.
- Weigh the set filling and divide it into portions of about 85 g. Roll each one into a log, around 10 cm long and 3 cm across (4 inches by 1¼). This is harder work than a beef kroket. The peanut sauce makes the filling stickier and it does not want to hold a shape as readily. Put the shaped logs back in the refrigerator for a few minutes if they soften while you work.
- Bread each one in this order: breadcrumbs, egg, breadcrumbs. The first coat of dry crumbs is what gives the egg something to grip.
- Lay the breaded kroketten on a lined cookie sheet, not touching, and freeze them solid. Two to three hours minimum for a log this size. Bread first and freeze after, in that order. A frozen crust sets in the oil before the filling behind it has softened enough to find a weak spot, and that is the whole reason this step exists.
- You do not have to fry them all now. Once they are frozen solid, bag them and keep them for a couple of months, then fry two at a time straight from the freezer whenever you want them.
- Fill a Dutch oven no more than halfway with oil and bring it to 175°C (350°F). The level rises when you add the kroketten and you do not want it going over the side. If you are using a deep fryer, follow the manufacturer’s fill line.
- Fry straight from the freezer, one or two at a time, for about 5 minutes, until deep golden brown. Frozen takes longer than thawed would, around 5 minutes against 3, and the extra time is heat working through the ice. Work in small batches so the oil temperature does not crash, and let it come back up to 175°C between batches.
- Drain on a wire rack set over a paper towel lined sheet. Fish any loose crumbs out of the oil before the next batch goes in, or they will burn and stick to the next kroket.
