Here is a question that Dutch people have been debating, probably without realizing they are debating it, for centuries: is an eierkoek a cookie or a cake? The name says koek, which in Dutch can mean either. It is round and flat like a large cookie, but the texture is soft and spongy like a cake. It has no butter, no frosting, and no filling, yet it is satisfying in a way that a plain cookie never quite manages to be. The answer, for what it is worth, is that an eierkoek is entirely its own thing, and that is exactly what makes it so Dutch.
Growing up, we had eierkoeken at home regularly. They were not something my mom baked herself; they came from the bakery, like most of the bread and baked goods in our house did. There was always something deeply comforting about the way they smelled when you opened the bag: warm, faintly eggy, with that soft vanilla sweetness that is hard to describe but impossible to forget. When I moved to the United States, the eierkoek was one of the first things I recreated, because I simply could not find anything like it here. Nothing in the American snack aisle comes close. After a while, life took over and I stopped thinking about it. It was only recently, on a trip back to the Netherlands, that I spotted them sitting in the window of a bakery and felt that immediate pull of recognition. One bite and I was right back in the kitchen at home, standing at the counter with a bag from the warme bakker. That is the kind of power a simple bake can have. When I got back, this recipe moved straight to the top of my list.
When you bite into a freshly baked eierkoek, the top is pale, soft, and almost pillowy, while the bottom has turned a gentle golden brown that gives just the slightest resistance before giving way. The inside is airy and tender, with a light spring to it. The flavor is clean and mildly sweet, with the brightness of lemon zest and the warmth of vanilla running through it. It is the kind of thing you can eat completely plain and be perfectly happy, which is how I often eat them. When I want something a little more indulgent, I will spread a little butter across the flat bottom, or reach for the chocoladeboter, or yes, the Nutella. There is no shame in it. A little chocolate spread on an eierkoek is one of those combinations that does not need justification.
The eierkoek has a longer history than most people realize. The earliest known written record of the name appears in Amsterdam city regulations from 1579, found in the book Handvesten ofte Privilegien ende Octroyen: Mitsgaders Willekeuren, Costuimen, Ordonnantien en Handelingen der stad Amsterdam, which noted that people from outside the city were not permitted to sell eyer-koecken within Amsterdam’s walls. Their roots are in the Dutch province of Brabant, where they were traditionally made for Christmas and Easter celebrations, as well as throughout the year. By 1608, the Flemish botanist Rembertus Dodonaeus had written about the healing properties of “eyercoekskens” in his famous Cruydt-boeck (Herb Book), and by 1879, a Dutch baker was advertising in a newspaper that eierkoeken were specially recommended by “the medical gentlemen.” The wellness reputation, it turns out, is not a modern invention. That brings us to the early 2000s and Sonja Bakker, a Dutch dietitian who included eierkoeken in her hugely popular weight loss program, pointing out that they are made without butter and are therefore relatively low in fat. Sales of eierkoeken across the Netherlands reportedly surged tenfold almost overnight. Now, as someone who has eaten more than one eierkoek in a single sitting, I will say that “diet food” might be a stretch — they do contain quite a bit of sugar. But if it got more people baking and eating them, I am not complaining.
The single most important thing to understand about this recipe is that there is no butter, no oil, and no cream. The only thing making these cakes light and airy is the air that you beat into the eggs and sugar. That means the technique matters more than the ingredient list. Beat the eggs long enough and fold the flour gently enough, and your eierkoeken will come out of the oven beautifully domed and soft. Rush either of those steps, and they will be flat and dense. I have written every instruction with that in mind, explaining not just what to do but why, so that you know what you are looking for at each stage. Whether this is your first bake or your hundredth, the recipe will work for you as long as you trust the process.
If you grew up in the Netherlands, or have a Dutch family member who kept eierkoeken in a paper bag on the kitchen counter, this recipe is for you. If you have never heard of them before but you love a bake that is simple, satisfying, and a little bit different from anything else in your repertoire, this recipe is also for you. A handful of pantry staples, a mixer, and about thirty minutes are all that stand between you and a batch of freshly baked Dutch egg cakes. The full recipe, with detailed instructions and tips for every step, is waiting for you just below.
If you make these eierkoeken, I would love to know how they turned out. Please leave a star rating and a comment below — it genuinely helps more people find this recipe, and I read every single one.
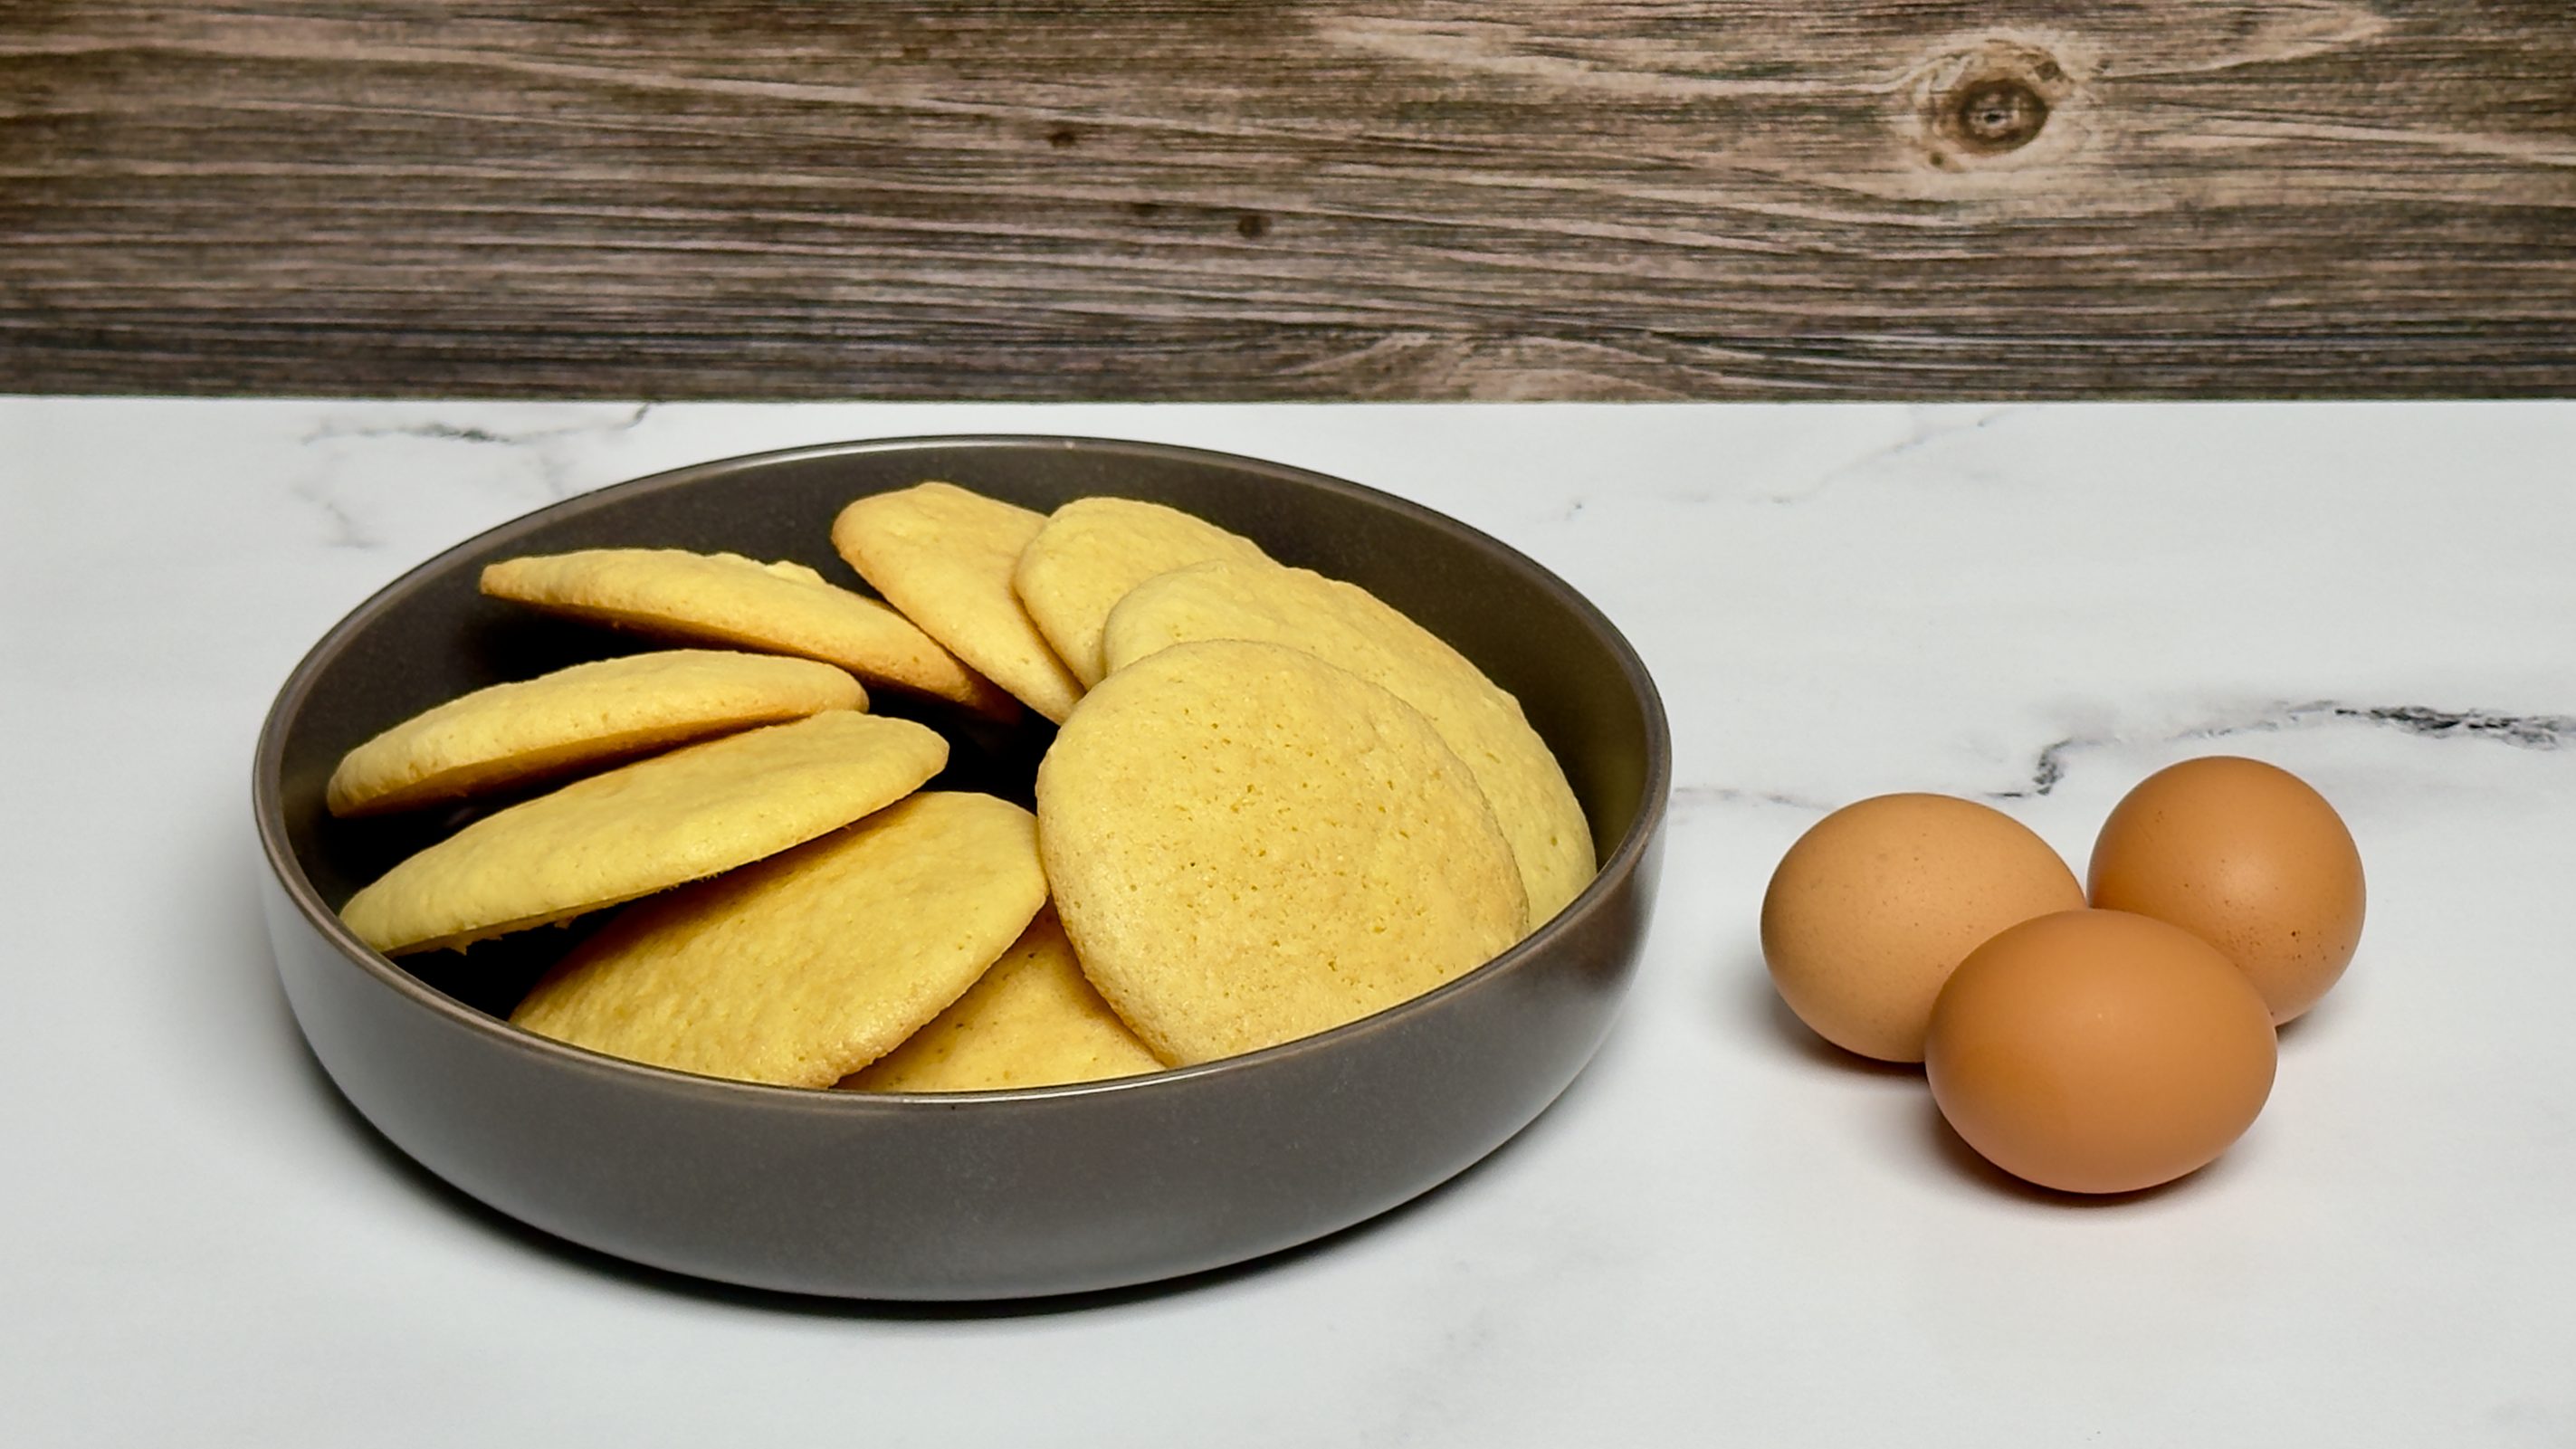
Soft, golden-edged Dutch egg cakes made without butter, with a pillowy sponge interior and a hint of lemon and vanilla. If you grew up in the Netherlands, or have a Dutch family member who kept eierkoeken in a paper bag on the kitchen counter, this recipe is for you. If you have never heard of them before but you love a bake that is simple and satisfying, this recipe is also for you. A handful of pantry staples, a mixer, and about thirty minutes are all that stand between you and a batch of freshly baked Dutch egg cakes.
Set your oven to 180°C (350°F) for a conventional oven. If you are using a fan-assisted or convection oven, lower that to 165°C (330°F). A fan oven circulates hot air more aggressively, and while that is great for even baking, it can cause the tops of your eierkoeken to set and color before the inside has had time to cook through properly. The lower temperature compensates for this.
Line your baking sheet with parchment paper or a silicone baking mat and set it aside. You want this ready before you start mixing, because once the batter is done it should go into the oven without too much delay.
Make the Batter
Bloom the lemon zest into the sugarAdd the granulated sugar and the vanilla sugar to the bowl of your stand mixer, or the bowl you will be using with your hand mixer. Zest half of a washed lemon directly into the bowl, right on top of the sugar. Using your fingertips, rub the zest into the sugar for about 30 seconds. You will feel the sugar become slightly damp and clumpy, and the smell in your kitchen will change noticeably. What you are doing is breaking open the tiny pockets of essential oil in the lemon zest and releasing them directly into the sugar. This distributes the lemon flavor much more evenly throughout the batter than simply adding zest at a later stage would. It is a small step that makes a real difference.
Beat the eggs and sugar until pale and thickAdd the three eggs to the bowl with the lemon sugar. Fit your stand mixer with the whisk attachment, or hold your hand mixer over the bowl, and begin at medium speed for the first minute to bring everything together. Then increase to high speed and beat for at least 5 full minutes. Set a timer if you need to.
As the mixer runs, watch what happens to the mixture. It will start as a thin, pale yellow liquid. Within a minute or two, it will begin to foam and increase in volume. By the 4 or 5 minute mark, it should have roughly tripled in volume and turned a very pale, almost creamy white. This is the air being trapped inside the egg proteins and sugar, and this is the only leavening your eierkoeken will have. To check that you have beaten enough, lift the whisk out of the bowl and let the batter fall back in. It should form a thick ribbon on the surface that holds its shape for at least 3 to 4 seconds before slowly sinking back in. If it disappears immediately, keep beating. You can also test whether the sugar has fully dissolved by rubbing a small bit of batter between your thumb and index finger. If it still feels gritty, beat for another minute and test again. Dissolved sugar and maximum air are both essential at this stage.
Sift the dry ingredients togetherIn a separate bowl, combine the flour, baking powder, and salt. Sift them through a fine mesh sieve into the bowl. Sifting loosens and aerates the flour, which makes it easier to fold into the egg mixture without needing too many strokes. It also catches any lumps that could end up as dense spots in the finished cake. This only takes 30 seconds and it is worth doing every time.
Fold in the flour, gently and deliberatelyThis step determines whether your eierkoeken are light or heavy, so read it fully before you start.Add all of the sifted flour mixture to the bowl with the beaten eggs at once. Do not add it in stages. Pick up your rubber spatula and use a folding motion: cut the spatula straight down through the center of the batter, sweep it along the bottom of the bowl, and bring it up and over the top of the batter, then rotate the bowl a quarter turn and repeat. Your goal is to incorporate all the flour within 8 to 12 strokes total. Every stroke beyond that deflates some of the air you spent 5 minutes building. The batter will look thick, sticky, and slightly stringy when you pull the spatula through it. That is completely correct. Stop the moment you no longer see any dry streaks of flour, even if it feels like it has not been mixed enough. It has.
Let the batter restCover the bowl loosely with a clean kitchen towel and let the batter sit for 5 minutes before you portion it out. During this rest, the flour finishes hydrating and the batter firms up just slightly. This helps it hold its mounded shape on the baking sheet instead of spreading out too quickly in the heat of the oven, which is what gives your eierkoeken that gentle dome on top.
Portion the Batter onto the Baking Sheet
Using two large spoons or a cookie scoop, drop portions of batter onto your prepared baking sheet. Each eierkoek should be about 3 to 4 generous tablespoons of batter. Leave at least 7 to 8 centimeters (around 3 inches) between each one in all directions, because they will spread noticeably in the oven. If you are not sure your baking sheet is large enough to fit 8 to 10 with that spacing, use two sheets and bake them one at a time on the center rack.
The portions will look a little lumpy and uneven when you first place them. That is fine. The heat of the oven will smooth them out and they will spread into round, flat discs as they bake. Do not try to flatten them yourself beforehand.
Bake
Place the baking sheet on the center rack of your preheated oven and bake for 10 to 12 minutes. The eierkoeken are done when the edges have turned a light, definite golden brown and the tops look set and dry, though still pale. The tops will not brown much, and that is correct for this bake. If you wait until the tops are golden, you have gone too long and they will be dry. Watch the edges, and pull the sheet from the oven the moment that golden ring appears around each cake.
Cool on the sheet, then transferLeave the eierkoeken on the hot baking sheet for 5 minutes after you remove them from the oven. They are too soft to move immediately and will tear if you try. After 5 minutes, use a thin spatula to transfer them carefully to a wire cooling rack. Let them cool fully before stacking or storing.
Video
Notes
On Vanilla Sugar: Vanilla sugar is a staple in Dutch baking and you can find it easily online; the Dr. Oetker sachets are widely available on Amazon and in some specialty grocery stores. If you cannot find it, stir 1/2 teaspoon of pure vanilla extract into the eggs at the start of beating, and simply use the full 130 g of regular sugar.
On egg temperature: Eggs that are cold from the fridge will not whip up as fully as eggs that have had time to come to room temperature. Take them out 20 to 30 minutes before you start baking. If you forgot, place them in a bowl of warm (not hot) water for 10 minutes, and they will be ready to go.
Serving suggestionsThe classic way is plain, at room temperature, the moment they have cooled enough to handle. If you want to serve them the Brabant way, spread a little soft butter across the flat bottom and add a light dusting of fine sugar. For something richer, try a swipe of chocoladeboter or Nutella on the flat side. They also make a lovely informal dessert: sandwich two together with lightly sweetened whipped cream and a handful of fresh aardbeien.StorageStore cooled eierkoeken in an airtight container at room temperature, with a small square of parchment paper between each one to prevent them from sticking together. They will keep well for 3 to 4 days, though like most things baked without fat, they are at their very best on the day they were made. You can also freeze them: wrap each one individually in plastic wrap, place them all in a zip-top freezer bag, and freeze for up to 2 months. To thaw, leave them at room temperature for about an hour.TroubleshootingMy eierkoeken came out flat and dense. The most common cause is that the egg and sugar mixture was not beaten long enough, or the flour was folded in with too much force or too many strokes. Both of these cause you to lose the air that is the entire structure of the cake. Next time, beat the eggs until you clearly see the ribbon stage, and fold with the lightest hand you can manage.The edges browned too quickly before the center was baked. Your oven is running hotter than the dial indicates, or you are on a fan setting without adjusting the temperature down. Lower by 10 to 15 degrees and add a minute or two to the bake time.The batter spread too much and the cakes are very thin. This sometimes happens on a warm day or in a warm kitchen where the friction of the mixer heats the batter. If this happens, refrigerate the batter for 5 to 10 minutes before portioning. The rest period in Step 6 also helps prevent this.There is a faint ammonia smell while baking. This does not apply to this recipe since we use baking powder, but if you ever come across an older Dutch eierkoek recipe that calls for ammonium bicarbonate, know that this is normal. It was the traditional leavening agent and the smell bakes off completely.If you make this recipe, please leave a star rating using the stars at the top of the recipe card. It takes just a second and it helps more people discover this recipe. I read every comment and would love to hear how yours turned out!
Wow... I had forgotten about eierkoeken. We always bought them at the grocery store. Since I had all the ingredients in my pantry, I made them right away! They came out great, even though I was worried I over-folded them.
View Comments
Wow... I had forgotten about eierkoeken. We always bought them at the grocery store. Since I had all the ingredients in my pantry, I made them right away! They came out great, even though I was worried I over-folded them.