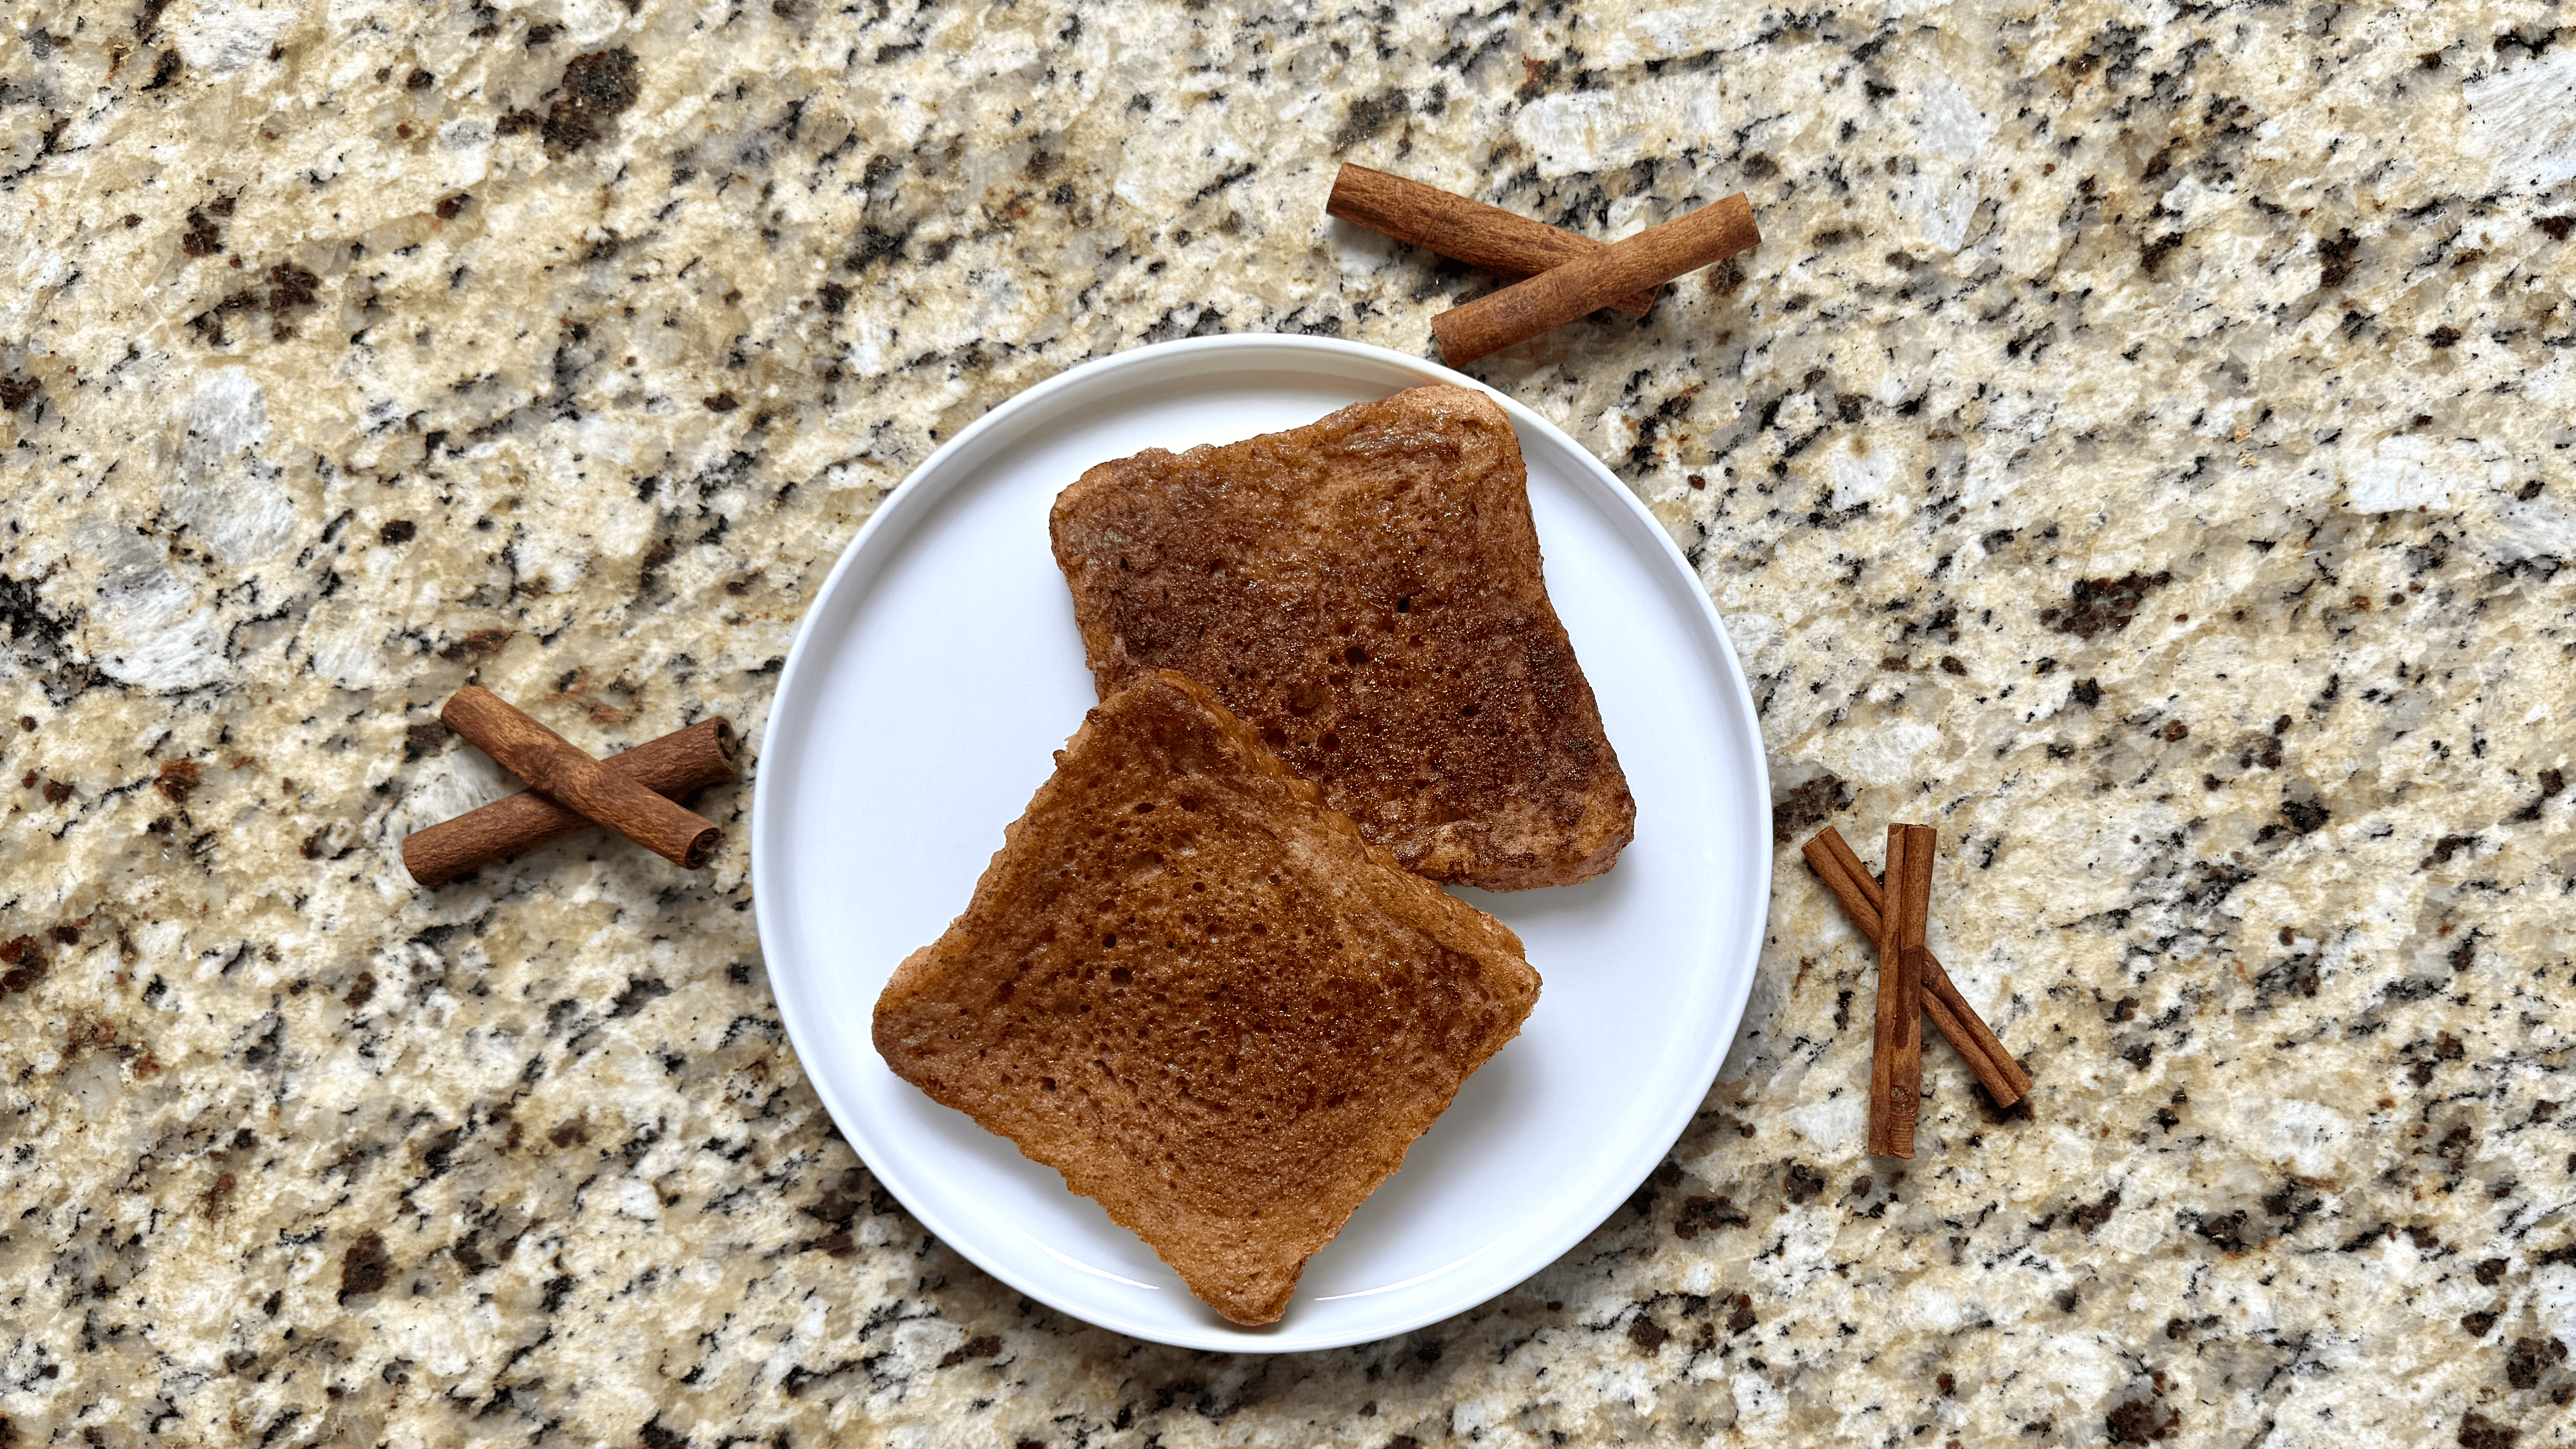
We did not eat wentelteefjes much when I was growing up. They were not a Sunday morning thing in our house, and I have no memory of my mother standing at the stove with a plate of them. That came later.
What I do remember is high school. Whenever there was some kind of event, somebody always made wentelteefjes. Not one particular person, and not for any reason anyone ever announced. They just showed up. Somebody had a loaf going stale, somebody had eggs, and there they were. I think that is the most honest picture of what this dish actually is. It is not fancy, it was never planned, and nobody has ever really owned the recipe. It is what you make when there are people around and there is bread that needs using.
That is also why I wanted to get this one right instead of writing down the obvious version. Dip bread in egg, fry it, done. Anyone can do that. But there is a real difference between wentelteefjes that come out soft and slightly wet in the middle, which is what most people end up with, and wentelteefjes with a thin crisp shell that crackles when your fork goes through. The difference comes down to two things, and neither one is an ingredient.
The first is how long the bread sits in the eimengsel. You want the egg and milk to soak about three or four millimeters into each side and no further. The very center of the slice should stay drier than the outside. That dry core is what holds the slice together when you lift it, and it is what lets the outside brown while the inside sets into something creamy instead of soggy. Leave the bread in until it is saturated all the way through and there is so much liquid trapped in the middle that the slice steams from the inside while it cooks. The outside can never crisp, no matter how long you leave it in the pan.
This is why day-old bread matters so much. Fresh bread is already full of its own moisture and has nowhere to put the eimengsel.
The second thing is sugar, and where you put it. Most recipes have you dust the finished wentelteefjes with cinnamon sugar at the table. That is fine, but it stays powdery and dissolves into the surface. Instead, sprinkle a light pinch of kaneelsuiker on each slice right before it goes face down in the pan. The sugar melts against the hot metal and caramelizes into a brittle layer fused to the bread. Same sugar, completely different result. Go light, because too much will burn and turn bitter before the slice is cooked through.
The bread, and why I leave the crust on
I use casinobrood for these, the square loaf baked in a lidded pan. The crumb is fine and tight, so it takes up the eimengsel steadily rather than gulping it in one spot the way an open crumb does, and the square slices lie flat in the pan so the whole face makes contact and browns evenly. It also goes stale more slowly than a free-form loaf, since the crust on all four sides gives moisture very little surface to escape from, so give it two days rather than one.
But any bread will do, and I would rather you make these with what you have than skip them because you do not have the right loaf. This is a dish that exists because somebody had bread going stale, and it has never been particular. An open-crumb rustic loaf drinks unevenly, so cut it thinner and check it by feel. Volkoren absorbs faster and browns faster, so shorten the soak and drop the heat a notch. Stokbrood wants a sharp diagonal cut and a longer dip. Suikerbrood or leftover kerststol makes a much richer version and needs about half the soaking time. The full notes are in the recipe below.
One thing worth saying, because a lot of the old recipes disagree with me. They tell you to cut the crust off. The Roman version in Apicius specifies crustless bread, and the instruction turns up again and again in later ones. There is a decent reason for it. Bread out of a wood-fired oven had a thick, hard crust, and crust does not absorb the way crumb does, so it stayed tough and dry while the middle went soft. Cutting it away made the slice worth eating.
Modern bread does not have that problem, and there is a real reason to leave the crust where it is. The rim takes up far less liquid than the cut faces do, which means it acts as a frame around the outside of the slice. It is the part holding everything together while the middle softens, and it is why a slice with the crust on is much less likely to tear when you flip it. Cut it off and you have thrown away the only structural part of the bread. The rim stays chewy instead of crisping, since there is no egg in it to set, and I like the contrast against the crackly faces.
Where the name comes from, and why most of what you have read is probably wrong
If you have looked this dish up in English, you have almost certainly run into the claim that “wentelteefje” translates to something rude involving a female dog. It gets repeated on nearly every blog and it makes for a good joke, but the etymology is far less settled than people make it sound.
The first half is easy. Cornelis Kiliaan’s Etymologicum Teutonicae Linguae, published in 1599 and the first real dictionary of the Dutch language, records the terms ver-wendt brood and ghe-wendt broot, meaning turned bread. That is the wentelen part, and all it describes is flipping the slice in the pan.
The second half is murkier. The earliest known use of the full word as a dish comes from a 1623 poem by the Hague painter Adriaen Pietersz. van de Venne, Tafereel van sinne-mal, where he writes about baking wentel-teven from sugared white bread and buttery fat. Almost a century later, in a 1717 comic play about student life in Leiden by Jan Jacob Mauricius, the word turns up in a way that deliberately blurs the line between a pretty girl and something you would want to eat. So the suggestive reading was clearly in circulation by then.
The explanation you will run into most often, though, is neither of those. It is that the word is a worn-down “wentel het even,” meaning turn it over for a second. That one sounds plausible and it does not survive contact with the evidence. There was a word appelteef, used in Dordrecht in the nineteenth century for the same dish, and “apple turn-it-over-for-a-second” is not a thing anybody ever said. The teef part behaves like a noun that attaches itself to other words, which is what the name of a pastry does and what a contracted verb phrase cannot. The dating works against it as well. The 1623 form is wentel-teven, a plural noun, not an instruction to somebody at the stove.
Which leaves the duller answer. Ewoud Sanders laid the case out in NRC in 2004, and in 2024 the Instituut voor de Nederlandse Taal published an overview of all the competing explanations. The position both land on is that teefje is most likely the name of some kind of pastry, and that nobody knows which kind. I lean toward the dull answer. Food names usually come from food.
There are older regional names too, and some of them are considerably worse. Draaireuen and gebakken hondsvotjes both turn up in Dutch dialect. I will let you look those up on your own.
The dish is much older than the Dutch name
Bread soaked in something and fried is about as old as bread and frying, and almost every European country has a version. The French call it pain perdu, lost bread. The Spanish have torrijas. In Germany, Denmark, Norway, Sweden and Finland it goes by some variation of arme ridders, poor knights.
The recipe most often pointed to as the ancestor is aliter dulcia in Book VII of Apicius’s De re Coquinaria, a Roman collection from around the first century. It calls for breaking crustless white bread into large pieces, soaking them in milk, frying them in oil, and pouring honey over the top. Worth noting that there are no eggs in it at all. Whether that dish is genuinely the ancestor of ours or simply an early example of an obvious idea is a question I do not think anyone can answer, and I would treat the straight line people draw between the two with some caution.
Eggs show up later. Le Viandier de Taillevent, the French collection attributed to Guillaume Tirel and dating in its earliest form to around 1300, has tostees dorées, which uses hard white bread and beaten egg yolks but no milk. The earliest version I know of with both milk and egg together, which is what we would actually recognize as wentelteefjes, is a payn purdeuz recipe in the English manuscript Harleian MS 279 from 1430.
On the Dutch side, my favorite find is De Volmaakte Hollandsche Keuken-Meid from 1745, which has a recipe under the heading of how to bake gewend brood. The technique is not what you would expect. The old bread is soaked in sweetened milk with rose water, then fried in butter, and only then is the beaten egg poured over the slice in the pan. You turn it, fry the other side, and pour egg over again. The egg was a coating applied during cooking rather than something the bread was soaked in beforehand. Somewhere between then and now we simplified it into a single dip, which is faster and honestly probably better, but I like knowing it was not always done this way.
What they taste like
The outside should be deep golden and slightly crackly, with a thin caramelized layer that gives a little resistance before it breaks. Underneath that, the bread turns into something closer to a set custard than to bread. Soft, a bit dense, still holding its shape. Not wet.
The flavor is butter first, then cinnamon, then the faint milky sweetness underneath. There is browned butter in there from the pan, which is a big part of why these taste different from American French toast even though the ingredient lists are nearly identical. Americans usually reach for maple syrup, which brings a lot of flavor of its own and covers everything else up. Wentelteefjes are meant to be eaten with nothing but kaneelsuiker, and once you try them that way you notice how much is going on in a dish with five ingredients.
They are best straight out of the pan and they do not wait well. Within about five minutes the steam from the inside softens the crust. So serve them as they come rather than holding them warm for everybody, or bake a large batch in the oven so they all finish at once.
If you make these, I would really appreciate it if you came back and left a star rating on the recipe card below. It genuinely helps other people find the recipe, and I read every comment.
A stack of these lands on the table looking like ordinary fried bread and eats like something a great deal better than that. Six slices, roughly twenty-five minutes start to finish, and almost everything you need is probably already in your kitchen. What follows gives you exact timings for how long each slice stays in the egg mixture depending on how dry your loaf is, along with the pan temperature that lets the middle firm up before the outside gets too dark. Measurements are given in both American cups and grams. Read through once before you turn on the stove, because the whole thing moves quickly once the butter hits the skillet and there is not much room to stop and check your place halfway through.
Stir the sugar and cinnamon together in a small bowl and put it within arm’s reach of the stove. Some of it goes into the pan and the rest onto the table, and you do not want to be measuring cinnamon with one hand while a slice browns in the other.
Make the eimengsel
Crack the eggs and the extra yolk into a wide, shallow dish. A pie plate or small baking dish works far better than a bowl, because you need to lay a whole slice flat in it.
Whisk until the yolks and whites are completely combined and no ropy streaks of white remain. This takes longer than you would think, around thirty seconds of steady whisking. Any unmixed white sets into a rubbery patch on the finished slice.
Add the milk, sugar, cinnamon, vanillesuiker and salt. Whisk again until the sugar has dissolved and the cinnamon is dispersed through the liquid rather than floating on top in dark specks.
The extra yolk brings fat and lecithin. The fat coats the egg proteins so they set tender instead of tightening into a rubbery layer, and the lecithin keeps the milk and fat from splitting in the pan. One extra yolk is plenty. More and it stops tasting like fried bread and starts tasting like baked custard.
The salt is not there to be tasted. Without it the sweetness has no edge and the plate reads flat.
Soak two slices at a time
Do not soak all six up front and stack them. Stacked slices drip-feed one another and the bottom ones compress under the weight, so by the time you reach them the dry core is gone. Soak two, cook them, then soak the next two while the first pair is in the pan.
Lay a slice flat in the eimengsel, let it sit, turn it, and give the other side the same time:
One day old, still slightly soft: about 10 seconds per side
Two days old, properly stiff: 15 to 20 seconds per side
Oven-dried, or dry heels: 30 to 40 seconds per side
Lift the slice and let the excess drip back into the dish for a second or two.
The clock is a starting point. Your finger is the test. Lay the slice flat on your palm and press the center lightly with a fingertip. It should feel firm and springy, with real resistance underneath. Squishy, with no push back, means it has gone too far. You will have it calibrated after two or three slices.
You are trying to get the eimengsel three or four millimeters into each face while leaving the center drier. That dry core is structural. It keeps the slice from folding in half when you lift it, and it lets the outside crisp while the inside sets creamy.
Soak until the slice is saturated all the way through and two things go wrong. The bread loses the strength to hold itself together, so it tears when you move it and falls apart in the pan. And there is so much liquid trapped in the middle that the slice steams from the inside out, which means the outside never crisps no matter how long you cook it. That is the most common way this recipe fails.
Heat the pan
Skillet over medium heat. Not medium-high, not high. Add half the butter and half the oil and let the butter melt and stop foaming. When the foam subsides the water has cooked out and the pan is ready.
Butter is where the flavor is, and browned butter is a large part of what makes these taste Dutch rather than generic. But the milk solids in butter scorch at a fairly low temperature, and you need the pan hot enough for long enough to set the egg through the middle. A little neutral oil raises the point where things start to burn and buys you the extra minute.
High heat browns the outside long before the egg in the middle has set, and you get a slice that looks perfect and is raw and wet in the center. Medium lets the browning and the setting finish together.
Fry
Sprinkle a light pinch of kaneelsuiker over one face of a soaked slice and lay it in the pan sugared side down. Sprinkle a second light pinch over the face now looking up at you. Do the same with the second slice, and do not let them touch in the pan.
Cook 2 to 3 minutes, until the underside is deep golden brown. Lift a corner with a spatula and look before you flip. You want real color, not pale tan. Flip, and give the second side about 2 minutes.
Sugar sprinkled on before the slice hits the hot metal melts and caramelizes directly against the pan, forming a thin brittle shell fused to the bread. Sugar dusted on afterwards just sits there and dissolves into the surface moisture. Same sugar, completely different texture. Sugar both faces before they go down and both sides crackle. Sprinkle after the flip and only one side does.
Use a light hand, lighter than feels right. The first face is now against the pan for the full two to three minutes rather than going down bare, so the sugar has more time to go from caramelized to scorched and bitter. If your first batch comes out darker than you want, drop the heat a notch for the next one.
Slide the finished slices onto a plate. Before the next pair goes in, take the pan off the heat for a moment and wipe it out with a folded paper towel held in tongs. Add fresh butter and oil and bring it back up to temperature.Small bits of egg and caramelized sugar are left behind after every batch, and there is more of it now that both faces are sugared. It is already fully cooked, and left in the pan it carbonizes, sticks to the next slice and tastes burnt. Ten seconds with a paper towel keeps every batch as good as the first.
Serve immediately
These are at their best straight out of the pan and they go downhill fast. Within about five minutes the steam working out from the middle softens the crust. Put them on the table and let everyone add as much of the remaining kaneelsuiker as they want.
Notes
Choosing your breadAny bread will work, and I would rather you make these with what you have than skip them for want of the right loaf. This is a dish that exists because somebody had bread going stale.I use casinobrood, the square loaf baked in a lidded pan. The crumb is fine and tight so it absorbs steadily instead of gulping liquid in one spot, and the square slices lie flat in the pan so the whole face makes contact. It goes stale more slowly than a free-form loaf, because the crust on all four sides gives moisture very little surface to escape from, so give it two days rather than one.A rustic loaf with an open crumb drinks unevenly, since the large irregular holes take up liquid at different rates. Cut a little thinner, around 1 cm, shorten the soak, and check the firm spots by feel rather than trusting the clock.Volkoren absorbs faster and browns faster, because of the bran and the higher sugar content in most whole grain doughs. Cut the soak by about a third and drop the heat a notch. The result is nuttier and less delicate.Stokbrood wants a sharp diagonal cut for more surface area, and gives a chewier result. Very dry baguette can take a full minute per side.Suikerbrood or kerststol makes the richest version of all. Both already contain sugar and fat, so they soften quickly and scorch easily: halve the soak, drop the heat, and watch the pan closely. Leftover kerststol going stale after the holidays is the classic use for this, and the amandelspijs softens in the pan beautifully.Why the crust stays onPlenty of the old recipes tell you to cut it off. The Roman version in Apicius specifies crustless bread and the instruction turns up again and again in later ones. There is a decent reason for it: bread from a wood-fired oven carried a thick, hard crust, and crust does not absorb the way crumb does, so it stayed tough and dry while the middle went soft.Modern bread does not have that problem, and the rim earns its place. It takes up far less liquid than the cut faces do, which means it works as a frame around the slice. It is the part holding everything together while the middle softens, and it is why a slice with the crust on is much less likely to tear when you flip it. Cut it away and you have removed the only structural part of the bread.The rim stays chewy rather than crisping, since there is no egg in it to set and no sugar on it to caramelize. If you would rather soften the difference, hold each edge down against the pan with tongs for about five seconds before plating.If cast iron is all you haveIt can work, but start it cooler than feels right and pull it off the heat between batches.The problem is not really the egg, it is the sugar. Molten sugar grips a bare iron surface hard, and when you flip, the caramelized layer can stay welded to the pan while the top of your slice comes away with it. A genuinely well-seasoned pan largely solves that, since a good build-up of polymerized oil releases nearly as well as nonstick.The thermal mass is the harder issue. Cast iron holds heat so effectively that once it climbs past where you want it, you cannot bring it down without taking it off the burner and waiting. Sugar goes from caramelized to burnt in well under a minute, and the pan gets hotter with every batch. A lighter pan lets you correct in seconds.On vanillaVanillesuiker comes in small paper sachets in every Dutch supermarket and is what most Dutch home cooks reach for. A teaspoon of extract does the same job. Plenty of the older recipes skip vanilla altogether and they are not wrong; it is a modern addition to a very old dish.I would not use a whole vanilla bean here. The aroma compounds are fat soluble and need warmth and time to come out of the pod, so whisking a scraped bean into cold milk and egg for thirty seconds pulls very little out of it. You would be paying for a pod and getting less flavor than extract gives you, and the two loudest flavors in the finished slice are browned butter and cinnamon, which bury the nuance anyway.If you want to do it regardless: split and scrape the pod into the milk, warm the milk gently, steep off the heat for 20 to 30 minutes, then cool it completely before adding the eggs. Warm milk poured onto raw egg will scramble it. If what you are after is the look of the specks, vanilla bean paste gets you that for a fraction of the cost.BasterdsuikerLichtbruine basterdsuiker is a soft, slightly moist Dutch sugar. It is not the same as American brown sugar, though light brown sugar is the closest substitute available outside the Netherlands. In the kaneelsuiker it gives a faint caramel note instead of straight sweetness.Cooking a large batch in the ovenIf you cannot keep up two slices at a time, soak them as described and lay them in a single layer on a well-greased baking sheet. Bake at 200°C for 10 to 15 minutes, turning once halfway.They will not be quite as crisp as pan-fried and you lose the browned butter, but they come out evenly and all at once, which counts for a lot with eight people waiting.On sweetnessThis sits on the leaner end of what Dutch home cooks use, because wentelteefjes began as a way to use up bread rather than as a dessert. If you want them sweeter, add the extra sugar to the kaneelsuiker rather than the eimengsel. That way you get it as crunch on the outside instead of a softer, wetter interior.Cardamom instead of cinnamonA legitimate substitute if cinnamon is not an option. Use the same quantity.StorageThese do not keep well and were never meant to. Refrigerate leftovers covered for up to two days and reheat in a dry skillet over medium-low heat, or in a toaster oven. Skip the microwave, which turns them soggy.