Ingredients
Equipment
Method
Making the Custard
- Crack each egg and gently pass the yolk back and forth between the two shell halves, letting the whites fall into one small bowl and the yolks into another. You’ll only need the yolks for this recipe, but don’t throw away the whites — they’re perfect for meringues, macarons, pavlova, or even an egg white omelet.
- Pour the milk and heavy cream into a large, heavy-bottomed saucepan. A heavy pan helps distribute the heat evenly so the mixture doesn’t scorch. Place it over medium heat and slowly bring it to a gentle simmer. Stir every minute or so with a whisk or spoon to prevent the milk from sticking to the bottom. You’re looking for small bubbles forming around the edges, not a rolling boil.
- While the milk and cream are heating, add the egg yolks and sugar to a mixing bowl. Using a hand mixer, beat them on medium-high speed until the mixture turns thick, pale, and slightly fluffy. This will take at least 3 minutes. When ready, it should leave ribbons that sit briefly on the surface when you lift the beaters.
- To prevent scrambling the eggs, you’ll need to temper them. Take about 1 cup of the hot milk/cream mixture and slowly pour it into the egg yolk mixture while beating constantly on low speed. This gradual heating allows the yolks to warm up without cooking too quickly.
- Pour the tempered egg mixture back into the saucepan with the rest of the hot milk/cream. Stir gently but constantly with a whisk or wooden spoon over medium heat. Keep stirring until the mixture thickens slightly and reaches 71°C (160°F) on an instant-read thermometer. This temperature is enough to cook the eggs for safety, without curdling.
- Remove the pan from the heat. Add the 227g of white chocolate to the custard. If you’re using a chocolate bar, chop it into small pieces first so it melts evenly. Stir until the chocolate is completely melted and the mixture is silky smooth.
Chill the Custard
- Pour the custard through a fine-mesh sieve to catch any tiny bits of cooked egg, ensuring a perfectly smooth ice cream base.
- You can either cover the custard with plastic wrap (pressing it directly against the surface to prevent a skin from forming) and refrigerate it for at least 8 hours, or cool it quickly using an ice bath. For the ice bath, fill a large metal bowl halfway with ice and water. Place a smaller metal bowl inside and pour in the custard. Stir constantly until the mixture cools to about 4°C (40°F), which should take 10–15 minutes.
Churn the Ice Cream
- Pour the chilled custard into your ice cream maker and start churning according to the manufacturer’s instructions. This usually takes 20–25 minutes, but times vary by machine.
- While the ice cream is churning, chop the remaining white chocolate into small pieces.
- When the ice cream is thick, creamy, and forms soft peaks, add the chopped chocolate and churn just until mixed through. Freshly churned ice cream should be soft but scoopable, holding its shape when placed in a bowl. For a firmer texture, transfer it to a lidded container and freeze for 2–4 hours before serving.
Nutrition
Notes
Tips for the best results
Use good-quality white chocolate. Since white chocolate is the star here, pick one with a high cocoa butter content (at least 28%). Cheaper brands often use more sugar and less cocoa butter, which can make the ice cream overly sweet and waxy.Keep everything cold. When cooling the custard, make sure it’s fully chilled to 4°C (40°F) before churning. This helps the ice cream set faster, which improves texture and reduces the chance of ice crystals forming.
Watch your temperature. Heating the custard past 71°C (160°F) can scramble the eggs. If you don’t have an instant-read thermometer, stir constantly and stop heating when the mixture lightly coats the back of a spoon.
Possible ingredient substitutions
Milk and cream: If you prefer a lighter ice cream, you can swap the heavy cream for half-and-half, but the result will be less rich and creamy.White chocolate pieces for in the ice cream: For a twist, replace the 50g of white chocolate chunks with milk or dark chocolate, toasted nuts, or even freeze-dried raspberries for a tart contrast.
Vanilla extract: You can use the seeds from half a vanilla bean instead of extract for a more pronounced, fragrant vanilla note.
Serving suggestions
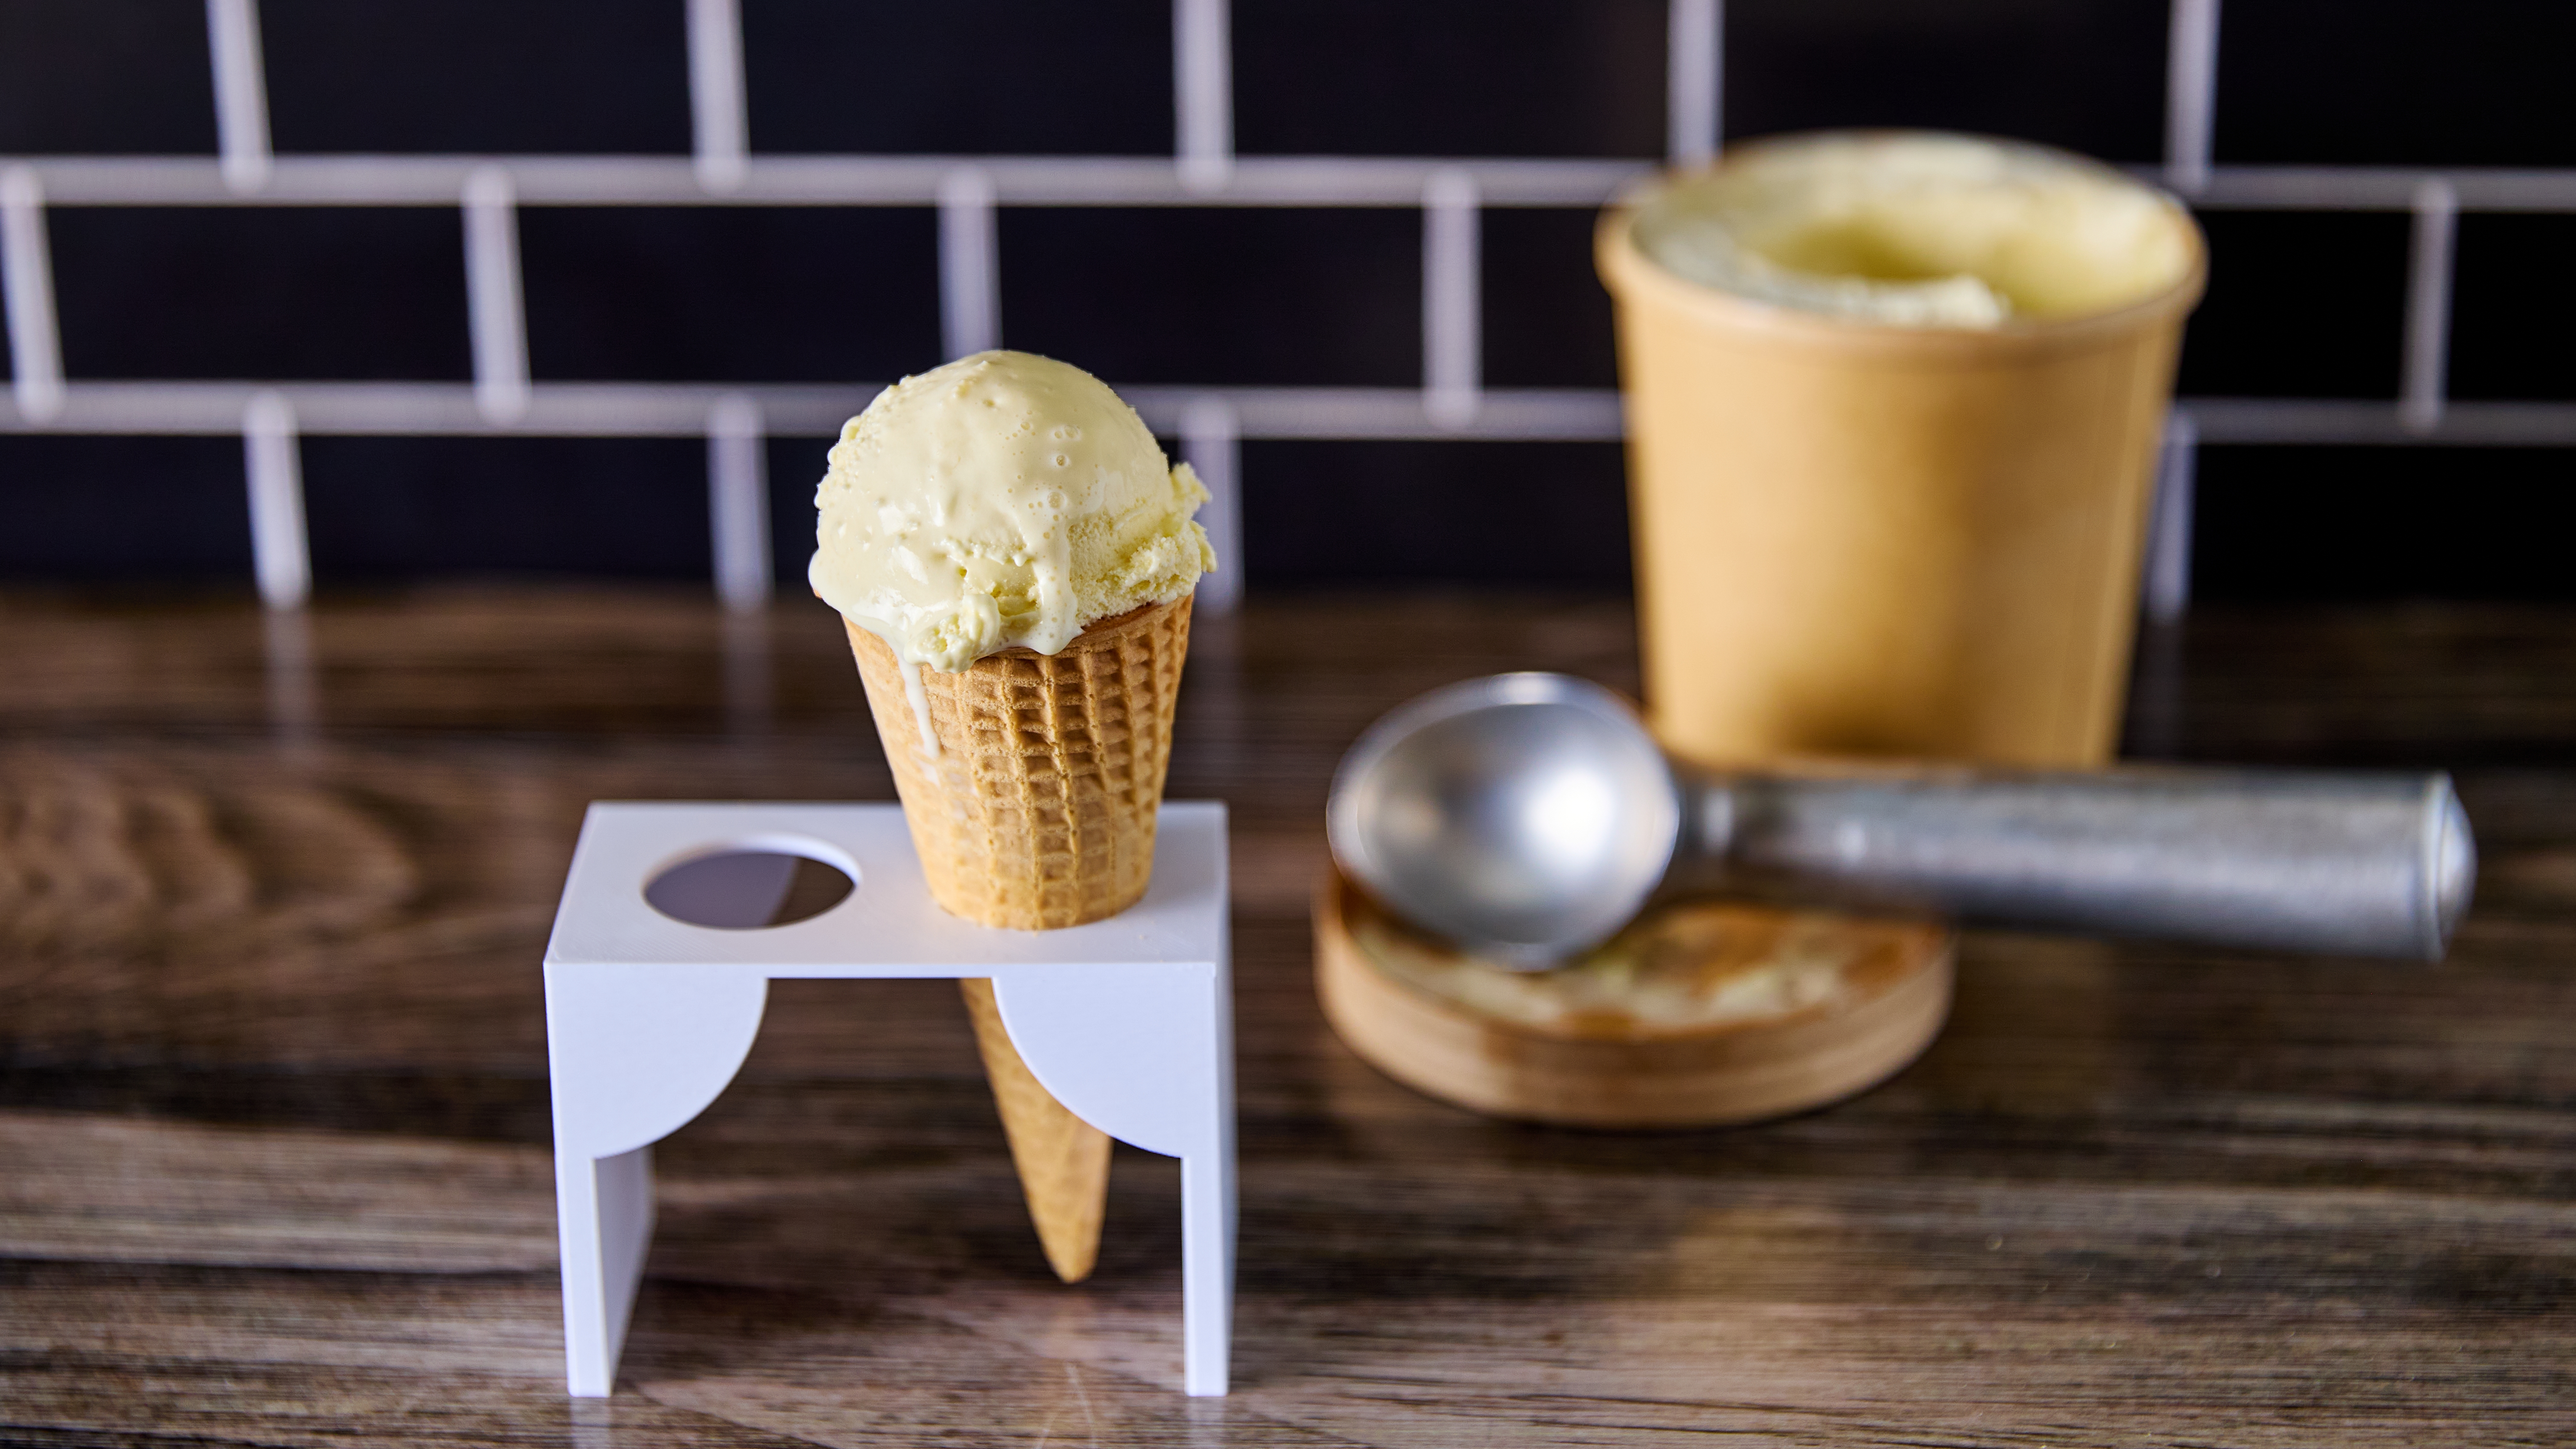
This ice cream pairs beautifully with fresh summer berries — strawberries, raspberries, or blueberries work especially well. For a decadent dessert, serve it in a waffle cone or alongside a warm slice of fruit tart. A drizzle of raspberry coulis or passion fruit sauce on top adds a pop of acidity that balances the sweetnessMake Ahead & Storage
Make ahead: The custard can be prepared up to 2 days in advance and kept in the refrigerator until you’re ready to churn. This can actually improve the flavor as it allows the mixture to fully mature.Storage: Once churned, transfer the ice cream to a lidded, freezer-safe container. Press a piece of parchment paper or plastic wrap directly onto the surface before closing the lid — this helps prevent ice crystals.
Shelf life: For the best texture, enjoy within 1–2 weeks. After that, it will still be safe to eat but may start to develop a slightly grainy texture.
Soften before serving: Homemade ice cream freezes harder than store-bought. Let it sit at room temperature for 5–10 minutes before scooping for a smooth, easy serve.
