Ingredients
Equipment
Method
Prepare
- Start by placing a bowl on your kitchen scale, and tare it to 0. (On my scale, I press the "tare" button) Next, sift your flour into the bowl and keep an eye on the scale until it reads 250 grams. This ensures accurate measurement for the perfect consistency in your recipe.
- Measure out your butter and sugar separately into two bowls. Be precise for this step, as this ratio of ingredients is optimal for flavor and texture of the spritsen.
- Use a microplane to zest your lemons. It typically takes about 2 lemons to yield around 5 grams of zest.
- Crack an egg into a small bowl and beat it until well combined. Then, place an empty bowl on your kitchen scale and tare it. Now, gradually pour the beaten egg into the bowl on the scale until the scale reads 30 grams.
- Ensure you have ample space on your countertop. Clear away any clutter and give the surface a thorough cleaning. A clean workspace is essential for maintaining hygiene and organization while you work on your recipe. So, take a moment to tidy up and create an inviting space for your culinary adventure.
- Tear a generous piece of parchment paper, large enough to cover the entirety of your cookie sheet. Flip the parchment paper over, and lay it flat. Equip yourself with a pencil and ruler as you embark on the meticulous task ahead. Carefully draw three defined "lanes" onto the parchment paper, lengthwise, employing the precision of your ruler to maintain uniformity. Each lane should be demarcated by two parallel lines, 5 centimeters (2 inches) apart. Allocate a minimum of 3 centimeters (1¼ inches) between each lane, allowing ample space for the expansion of your spritsen as they bake. Put the parchment paper on your cookie sheet, with the pencil marks facing down (you don't want the food to touch the pencil marks). This endeavor serves a vital purpose, as these precisely drawn lanes will serve as your guiding stars during the piping process. You'll ensure the harmonious uniformity of your cookies as you pipe the dough onto the parchment paper in between the lines. This ensures that each cookie emerges from the oven with consistent size and shape.
- Sift the flour onto your work area, setting it off to the side for the time being as it won't be needed immediately. Once sifted, divide the heap of flour into three evenly sized portions. This step ensures that the flour is prepped and ready to be incorporated into the dough as needed, facilitating a smooth and efficient baking process.
- Prepare your oven by preheating it to 160°C (320°F) using the conventional (non-convection) baking mode.
Making the Spritsen Dough
- When preparing the dough, it's helpful to designate one hand for dough-making and the other for using the bench scraper. Your dominant hand will primarily focus on making the dough, providing a great workout for your arm muscles. Begin by placing the butter on your clean workspace. Using the heel of your hand, press down on the butter, pushing it away from yourself. Then, bring the butter back towards you and repeat this motion. Periodically, use the bench scraper to gather any excess butter from the workspace and reincorporate it with the rest. Continue this process until the butter takes on a slightly lighter shade, indicating that it's been thoroughly worked into the dough. If you'd like a visual reference, feel free to consult the accompanying video for a detailed demonstration of each step.
- Now, it's time to incorporate the sugar into the butter. Add the sugar to the butter on your workspace, then repeat the rubbing motion of pushing the butter and sugar down and away from yourself, just as you did with the butter alone. Keep at it until all the sugar is fully dissolved into the butter, and the mixture achieves a smooth, "salve-like" consistency. This may take a bit of elbow grease, but the end result will be well worth the effort.
- Next, it's time to add the lemon zest and salt to the mixture. Incorporate them into the butter and sugar using the same rubbing technique as before. Push the mixture down and away from yourself, ensuring the lemon zest and salt are evenly distributed throughout. This method ensures that every bit of flavor is infused into the dough, creating a deliciously fragrant and well-seasoned base for your cookies.
- Now, it's time to add the beaten egg to the mixture. Using the same technique as before, gently incorporate the egg into the mixture. Use the rubbing motion to blend the egg with the butter, sugar, lemon zest, and salt until everything is thoroughly combined. This ensures that the egg is evenly distributed throughout the dough, resulting in a cohesive mixture.
- Now, add one-third of the flour to the butter mixture. Using the same rubbing technique as before, gently mix in the flour. Be careful not to overwork the dough. Once the first portion of flour is thoroughly mixed in, add the second portion and repeat the process. Finally, add the last portion of flour and incorporate it into the mixture. This gradual addition of flour ensures that it is evenly distributed throughout the dough, resulting in a smooth and cohesive texture without overworking it. Your dough should appear pale and feel smooth to the touch, resembling the texture of a salve. While you may still detect some granules of salt, the overall consistency should be cohesive and velvety. Now, using a bench scraper, make one big heap of dough.
Shaping the Spritsen
- Begin by inserting the M1 tip into your piping bag and folding over the open edge to create a "cuff." Hold the piping bag with your hand positioned under the cuff, ensuring that your index finger rests at the edge for stability. Using the bench scraper, transfer the dough into your piping bag, making sure to utilize your finger within the cuff to gather every last bit of dough off the scraper and into the bag. This ensures that none of the dough goes to waste, and you have all the material you need for perfect piping.
- With your piping bag in hand, begin piping a zig-zag pattern with rounded corners between the lines of the 5-centimeter lanes on the parchment paper. This technique will help you achieve cookies that are uniform in size and shape, with a delightful aesthetic appeal. Take your time to ensure each zig and zag is precise, allowing the dough to flow smoothly from the piping bag for the perfect finish.
Baking the Spritsen
- Place the cookie sheet in the preheated oven and bake for 22 to 25 minutes, remembering to rotate the cookie sheet halfway through baking for even cooking. Keep a close eye on the spritsen as they bake. You're aiming for a delicate browning on the edges, indicating that they are perfectly done.
- Retrieve the cookie sheet from the oven and carefully place it on a heatproof surface. I prefer using my wooden cutting board, which conveniently matches the size of my cookie sheet, ensuring stability and safety.
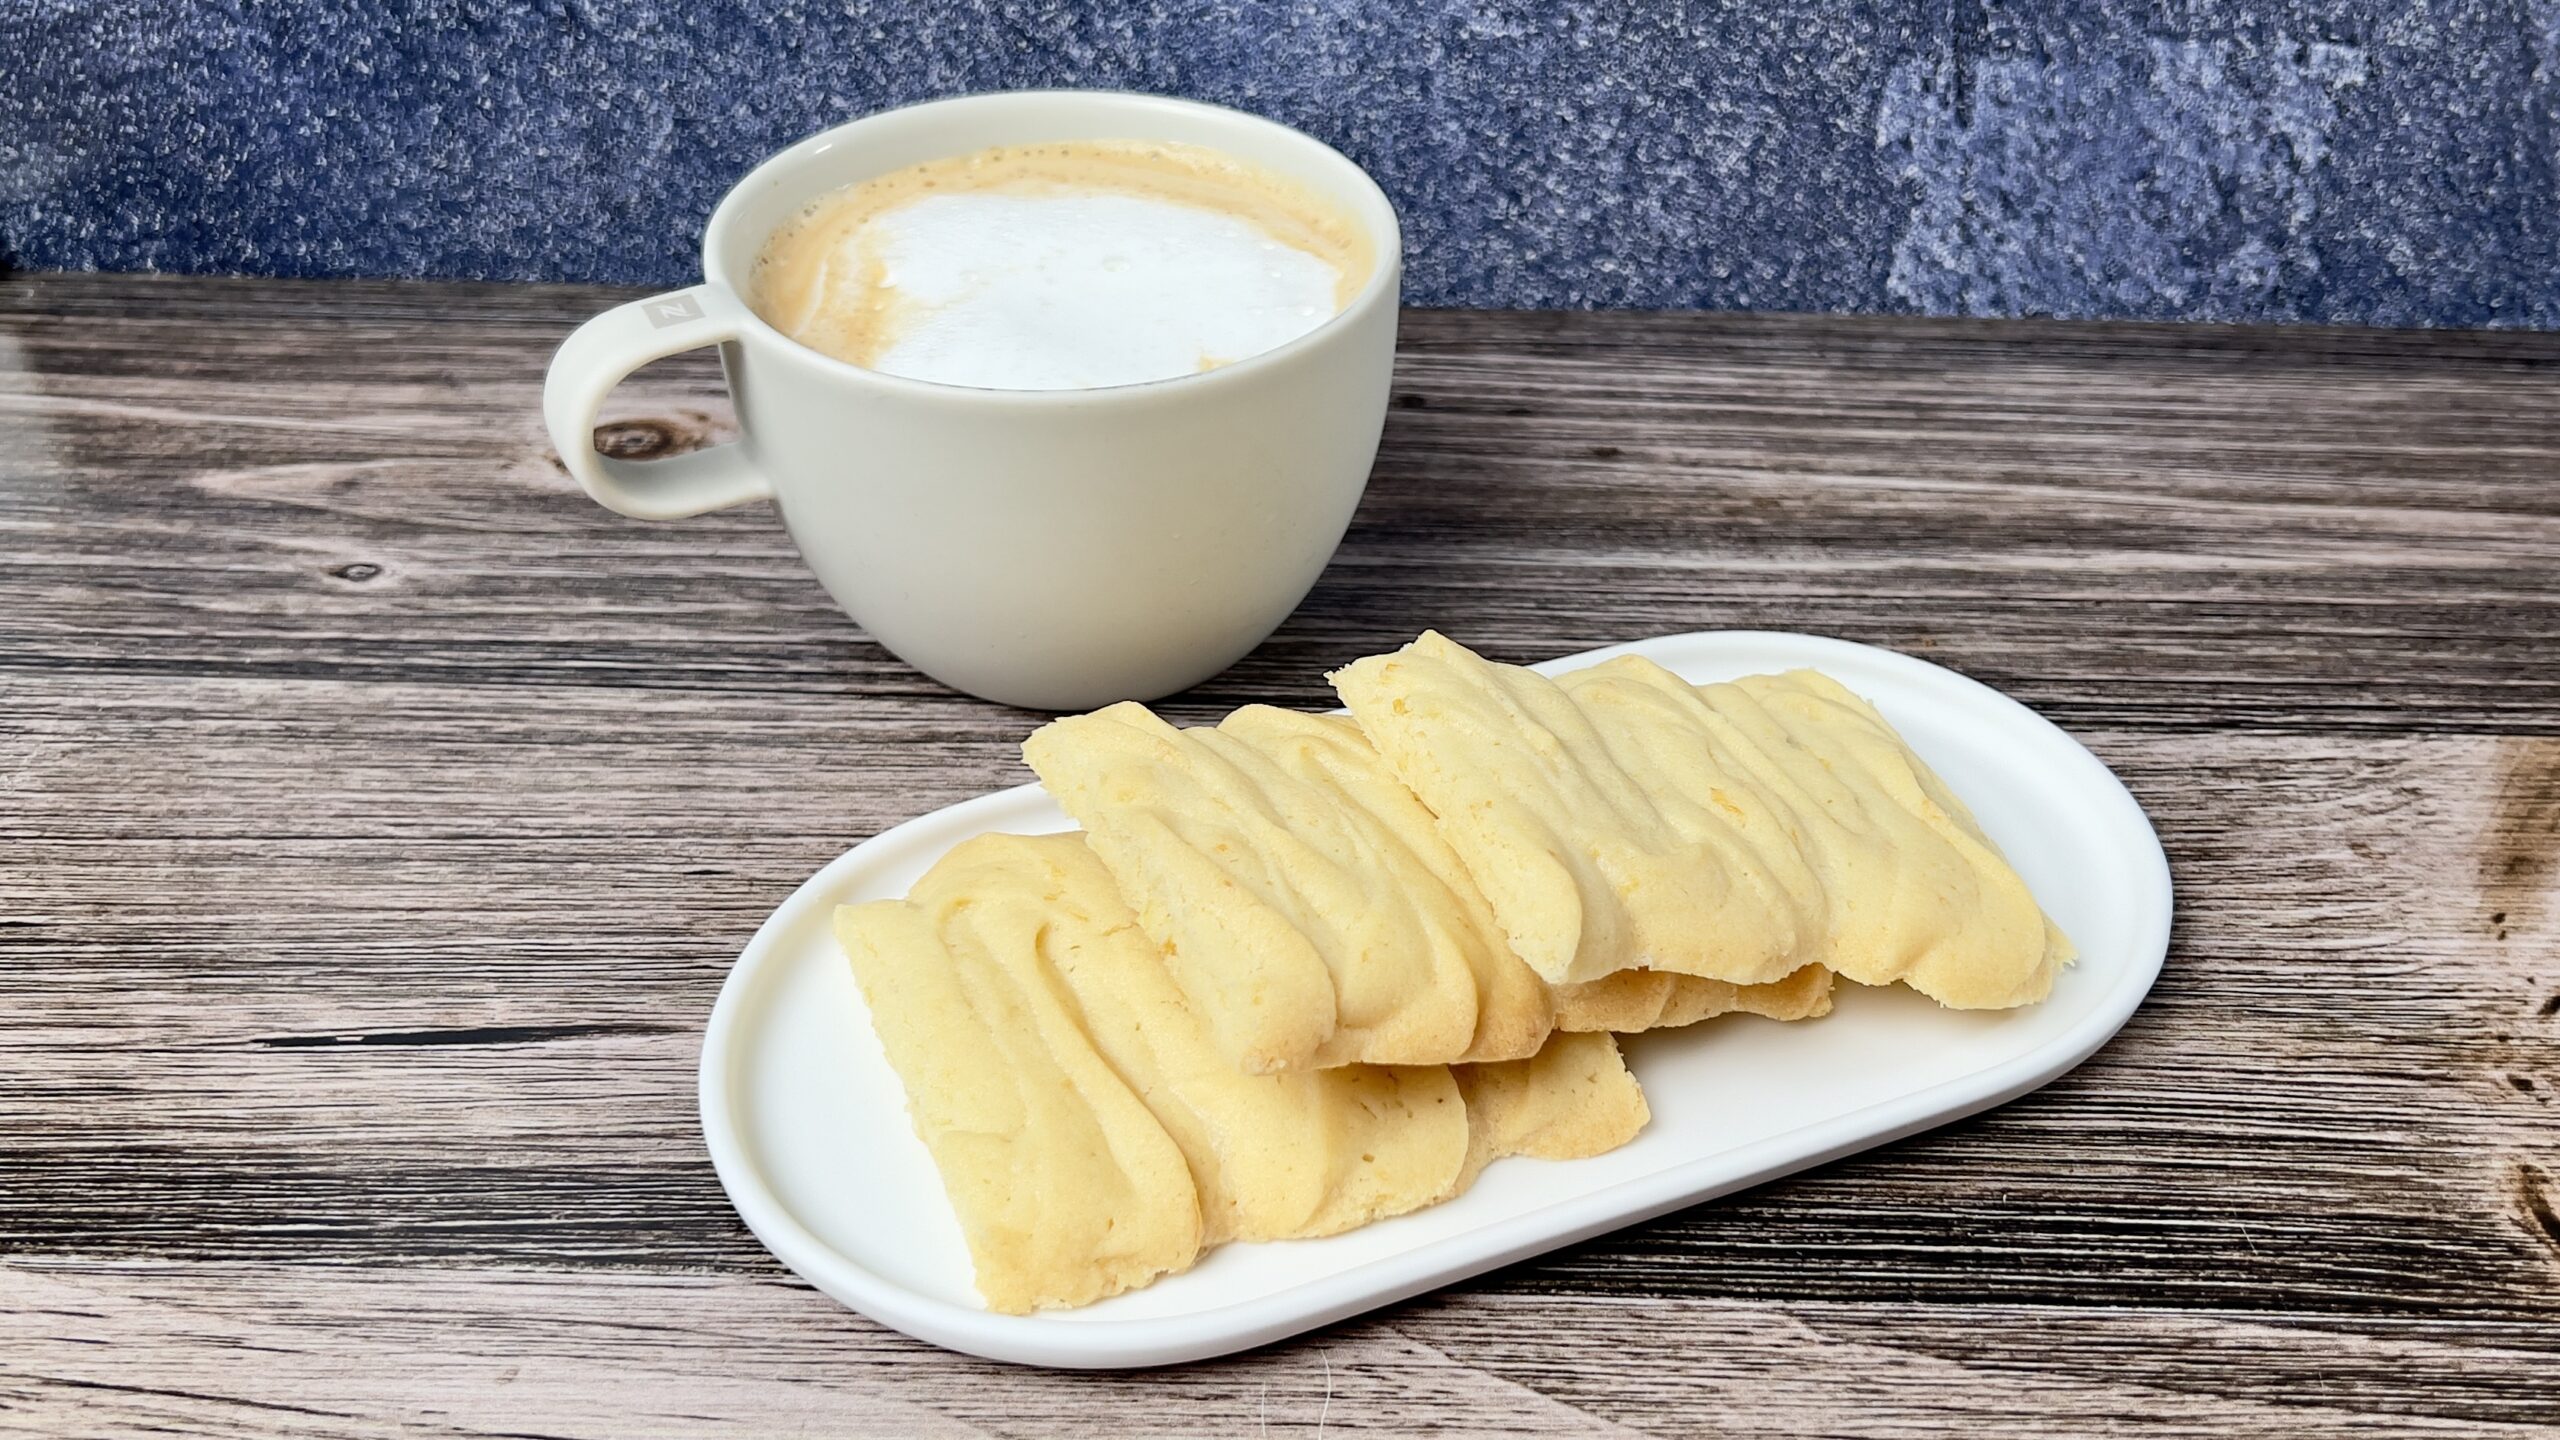
- After removing the spritsen from the oven, it's crucial to cut them to size promptly. Delaying the cutting process may cause the cookie to become brittle and prone to crumbling, resulting in uneven and jagged edges. Utilizing a bench scraper is an excellent tool for achieving clean, straight cuts. Begin by cutting off the narrow ends of the long Spritsen strips to create straight edges. Then, proceed to cut the strips into your desired size. For optimal uniformity, I typically divide each full strip into 8 even pieces.
