Ingredients

Equipment
Method
Evening Before
- Mix the preferment. Whisk the instant yeast into the bread flour while it is still dry. Add the salt and water and mix to a shaggy mass with no dry flour left. It will be stiff.
- Ripen. Two hours at room temperature (around 20 °C / 68 °F), then 14 hours in the fridge at 5 °C / 41 °F. It is ready when it has roughly doubled, smells faintly of beer and yogurt, and shows a webbed underside when you pull it from the bowl.
Baking Day
- Mix. In the bowl of a stand mixer, whisk the instant yeast into the bread flour. Add the preferment torn into chunks, then the water, milk, salt and honey. Stir the honey into the water first so it disperses; it will not distribute evenly if you drop it straight onto the flour.
- Knead. With the dough hook, knead on low for 6 minutes.
- Add the ghee and knead 5 to 6 minutes more on medium, until the dough is smooth and pulls clean off the bowl. If your ghee is liquid rather than soft-solid, add it in two halves a minute apart.
- Check the temperature. You want 25 to 26 °C (77 to 79 °F).
- The dough should be firm and only slightly tacky. If it tears rather than stretches after eight minutes of mixing, add water 10 g at a time.
- Bulk Rise. 30 minutes, covered, at room temperature. It will not rise much. That is expected.
- Divide and round. Divide the dough into 74 g pieces. Round each piece tightly against an unfloured surface until the skin is taut and the seam is closed underneath. Cover and rest 45 minutes.
- Form the star. Dust your cloths generously with rye and set one on a board or tray. Roll each ball in the rye flour, coating it well, then flatten to a disc about 10 cm (4 in) across.
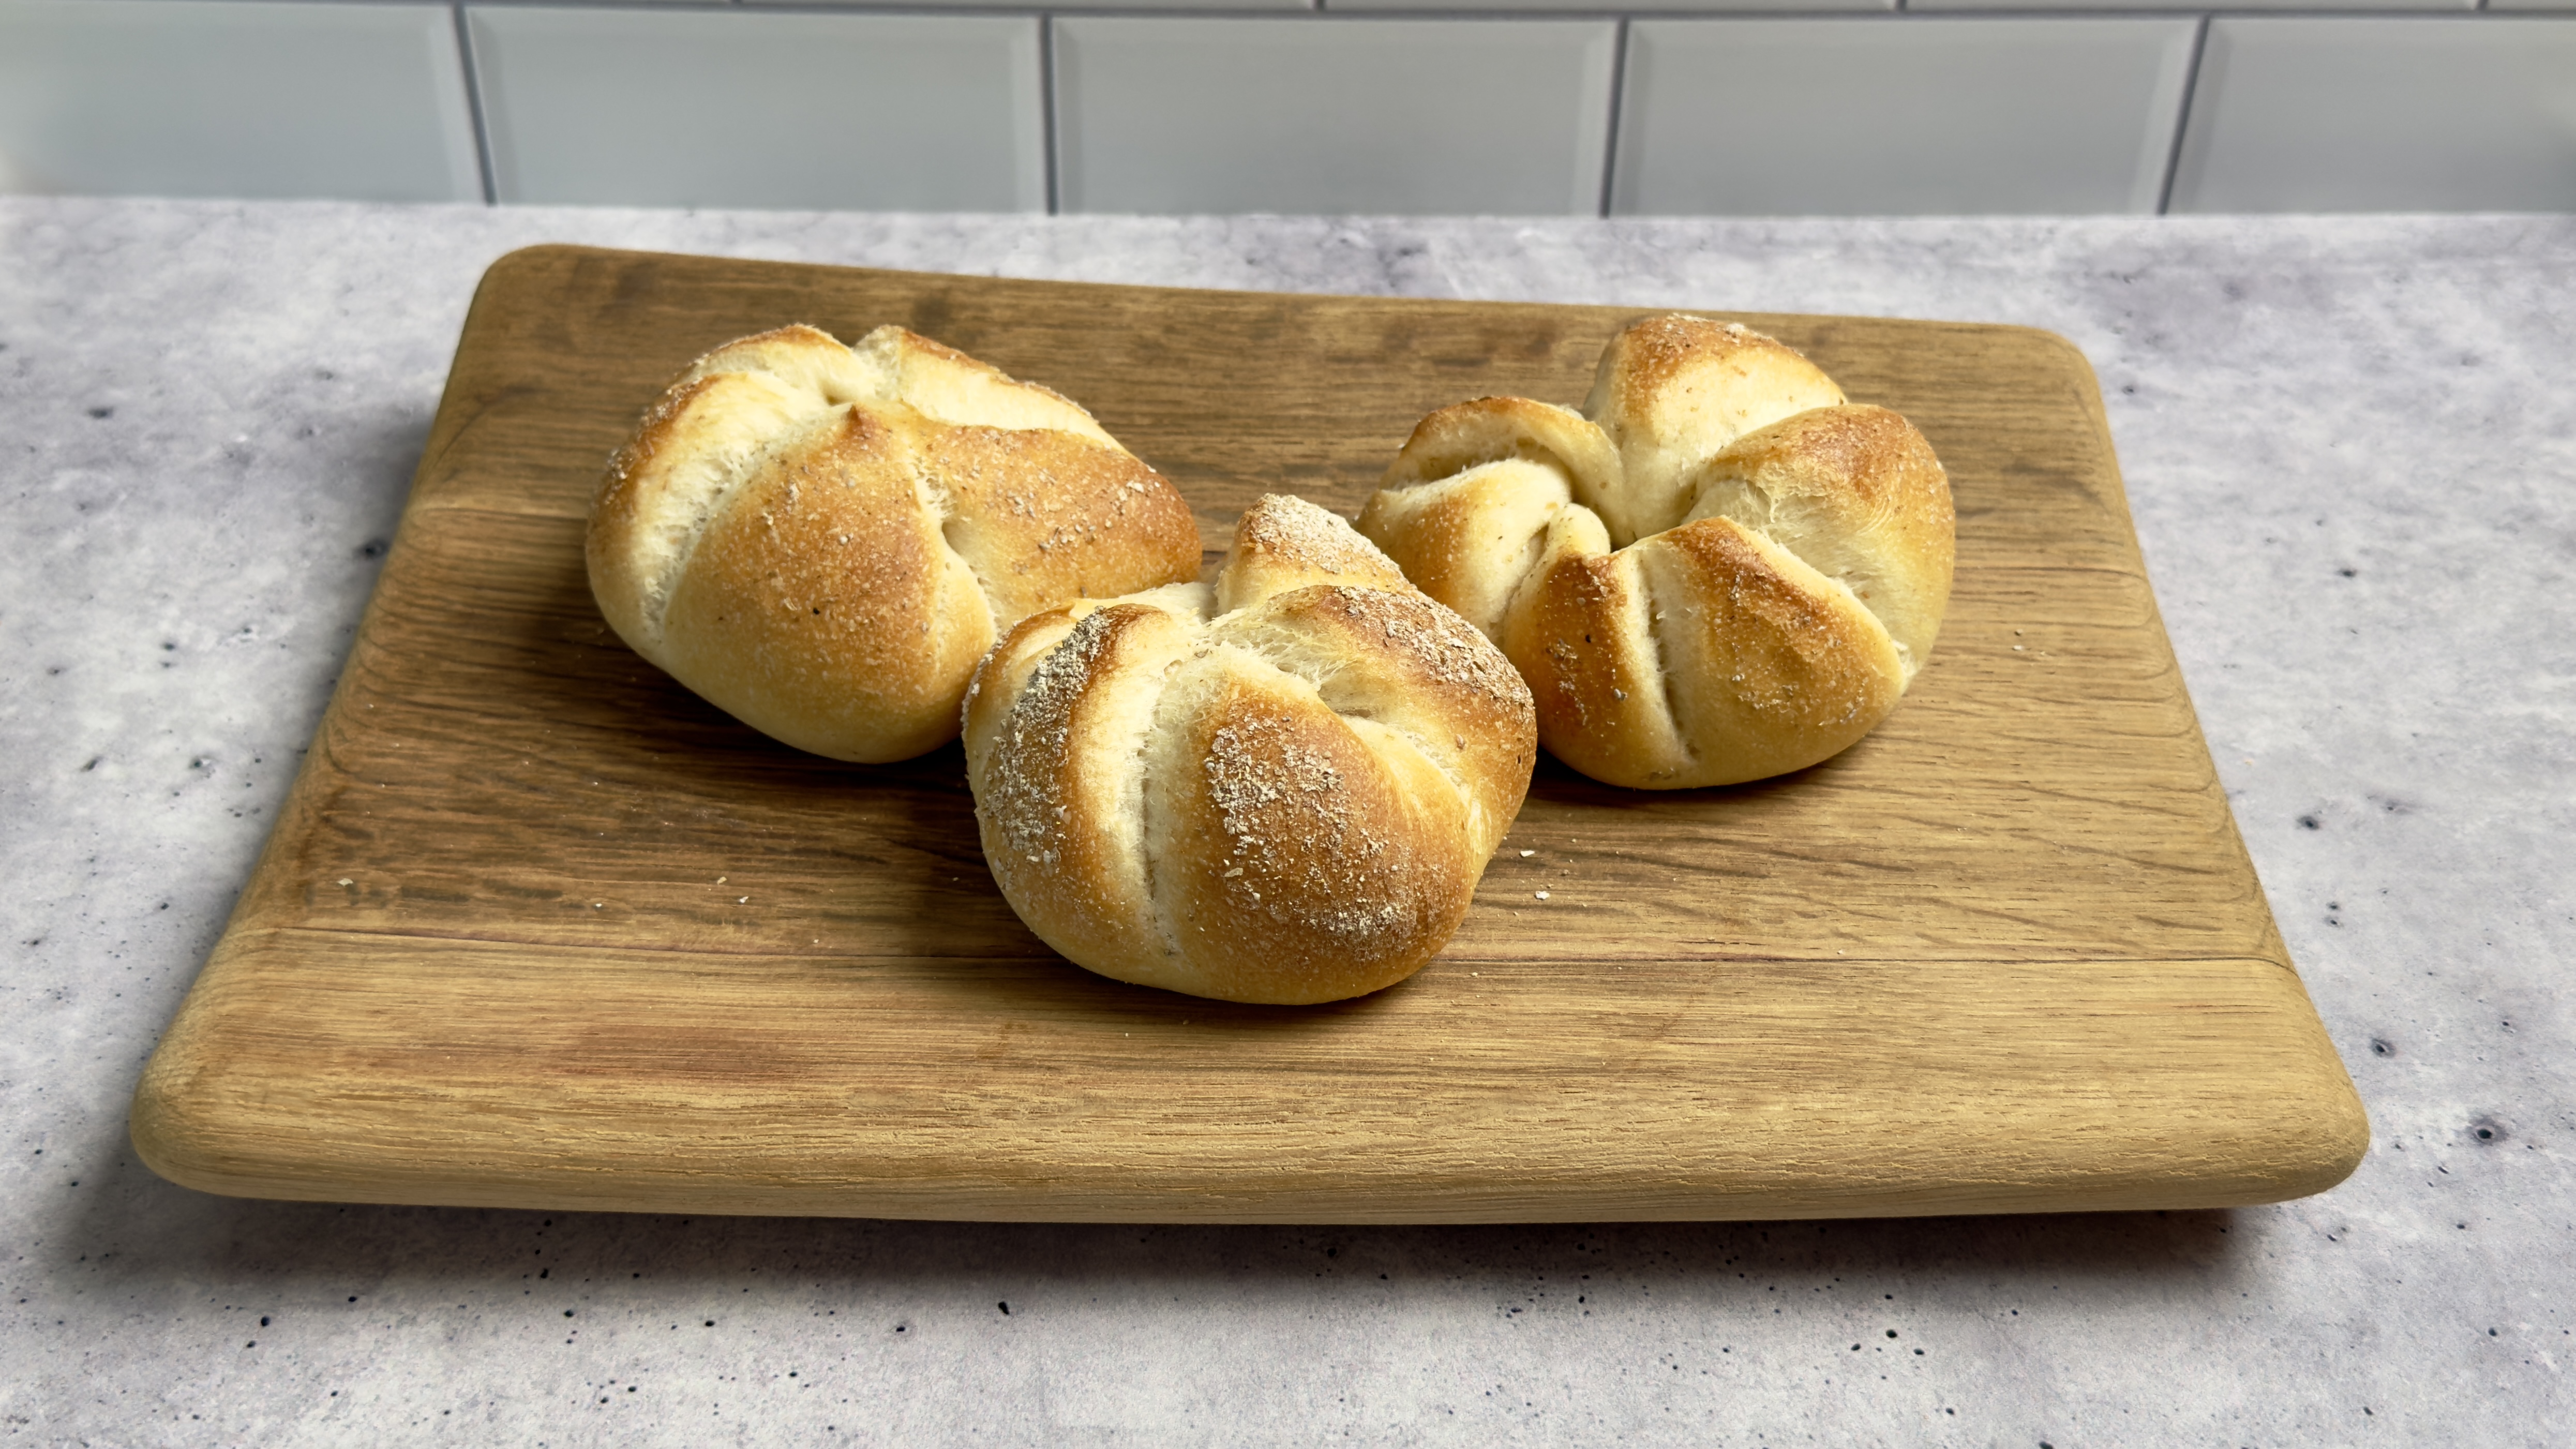
- Fold in five overlapping laps, keeping your left thumb planted in the centre the whole time. Tuck the fifth lap into the opening your thumb has been holding. Pinch the first and last folds together firmly at the rim.
- Final proof. Set each roll star side down on the rye-dusted cloth, well spaced so they cannot touch as they expand. Dust the bottoms of the rolls (which are now facing up) with rye, and Cover with another towel. Let sit for 45 to 60 minutes at room temperature.
- Prepare Oven. Preheat to 250 °C / 480 °F for a full 45 minutes, rack on the lower-middle position, about a third of the way up. Put a cast iron skillet on a rack below, or on the oven floor if your bottom element is concealed rather than exposed.
- Bake. Once the rolls are at two-thirds proof, they're ready to go into the oven. You can tell when a gentle press leaves a dent that fills back slowly but not completely.
- Turn the rolls over one at a time onto a parchment-lined baking sheet so the star faces up, spacing them 5 cm (2 in) apart. Spray with water and slide the sheet in. Pour half of the water for steaming into the preheated cast iron skillet, drop the oven to 240 °C / 465 °F, and bake 15 to 18 minutes.
- Do not open the door during the bake. That quantity of water is metered to evaporate and clear through the oven's own vent within the first 8 or 9 minutes, giving you a moist expansion phase followed by dry heat for colour and crisping.
- Between the two batches. Put the second batch of rolls in the fridge, board and all, the moment the first sheet goes in the oven. The cold holds it steady rather than letting it drift into overproof while it waits.
- When the first batch comes out, set the oven back to 250 °C / 480 °F and give it a full 10 minutes to recover before the second sheet goes in. It's important to let the oven get back to temperature, because a sheet loaded into an oven that has not come back up to temperature produces visibly worse rolls than the first batch, and the recovery time is the whole fix. Turn the second batch out straight from the fridge, no warming up needed, and weigh a fresh 90 g of water for the steam vessel.
- If you happen to have two ovens, preheat both and bake the sheets side by side instead.
- Finish. Spray with water the moment they come out. Cool on a rack.
Nutrition
Notes
Dough temperature is the master variable. Every timing here assumes the dough comes off the mixer at 25 to 26 °C. Ten degrees cool and your proof times stretch by half. The cold water and cold milk are doing that work, so do not let them come to room temperature first. In a warm kitchen, chill the flour too.
Knead it fully. Under-kneading is the most common cause of a bad Semmel, and it produces two symptoms that look unrelated: a dense, tight crumb, and a star that blurs in the oven. You are looking for a windowpane, though not the transparent one you would want for ciabatta. If in doubt, mix two minutes longer.
The rye flour does real work. Its job is to sit between the folded layers so they do not weld shut in the oven. That separation is what lets the star tear open cleanly. Rye is fine enough to settle into the crease of each fold and stays powdery instead of hydrating into a film, where wheat flour glues the folds together. Be generous with it, and coat the ball properly before you flatten it.
Keep the pinch point clean. Wherever you press the first and last folds together, the dough needs to touch dough. Flour trapped in that seam stops it sealing and the roll can open out during proof. Tap the rim clear before you pinch.
Press the folds hard, and do not shape early. Pinching the first and last folds together at the rim is the step people rush. A fold that creeps open during proof is a star that vanishes in the oven. Equally, if you shape a piece that has not rested long enough, the dough is still tight and it pulls the centre of the star upward into a peak as it bakes.
Star down on the cloth, star up in the oven. Proofing face down keeps the folds compressed so they cannot creep open, and the cloth wicks moisture off the surface. Turning them over on the way to the sheet gives you a sharper tear. Handle them gently at that point; they are at two-thirds proof and soft.
Underproof rather than overproof. Two-thirds proof is genuinely the target, not caution. A fully proofed Kaisersemmel has no structure left to bloom and the star flattens out. Underproofed rolls still look good. Overproofed ones do not.
